The Flat Roof Society

It might be boring (and that’s why Paul is writing this blog entry), but we did have the flat roof over the utility room re-felted.

I hate flat roofs. They are so much trouble. I don’t know of a single flat roof that anyone has had that hasn’t caused some trouble at some time. I suspect the only reason anyone gets them is becaue it’s cheaper. Which like most cheap solutions, is only designed to last for the shortest amount of time. Anyone out there thinking that a flat roof might be the option, just don’t.

The utility room is on the side of the house, and that’s the only part of the house that has a flat roof. We’ve always known it was a bit dodgy as the utility room looks to have suffered from damp and leaks in the past.

The utility room on moving day

And in the winter of 16/17 we noticed it getting slightly worse in one particular area.

This prompted us to get the local building compnay to have a look at it.

Originally, it looked like we were going to have to have the whole roof felt replaced, which was going to be expensive, but we at least knew that we would have a properly sealed roof that wouldn’t leak. But after an expert had a full look, he thought that he would be able to patch up the area that was causing a problem, and there were quite a few of them.
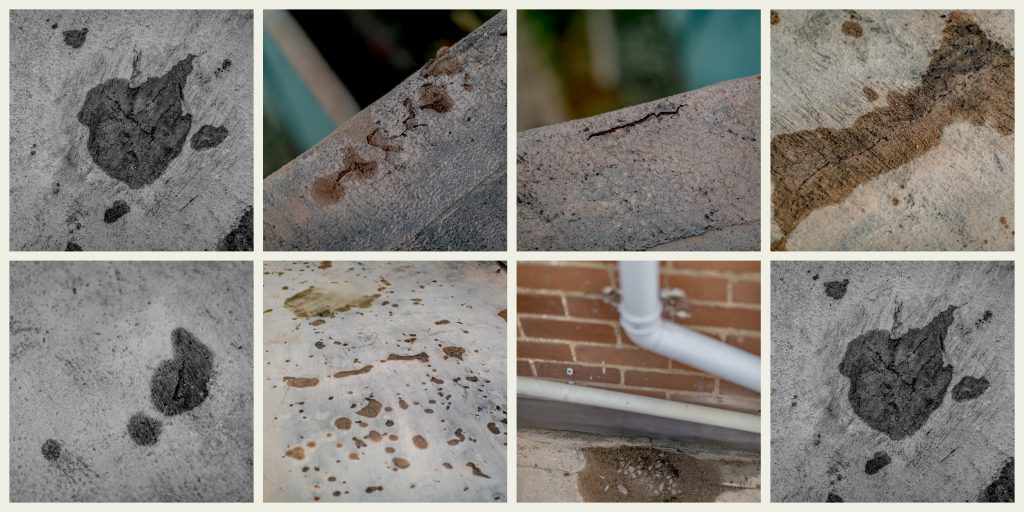
Holes

That obviously made things considerably cheaper and easier. Although it will probably only last a few years, but hopefully by then, we will be in a position to look at the extension.

Plumbum

Whilst on the roof, they did replace all of the lead work,  and we noticed that the pointing in the next door neighbours utility room was looking a bit dodgy too. But that can be a problem for tomorrow.

So far, the roof has held up pretty well. We did see a little bit of water ingress when we had the snow, but there was quite a lot of snow on the roof at that time, so I think that’s to be expected.



Windows 7

Just as our outside space is starting to take shape, so too is the interior of our house; six more windows have been replaced: the big bay at the front of the house, a couple in the hall, a couple in the utility room and the back bedroom. Most excitingly, our much anticipated front door has been fitted.

Replacing the bay window fixed a leak which had rendered the windowsills rotten and damp and some nice fungal growth, which has been present since we bought the house ,should be gone for good once we finish the work on this room.

New Windows

A couple more of our leaks have been sorted too; we’ve had a plumber around to fix our boiler and filling loop leak, there was a drain off valve leak in the dining room which soaked through the carpet and left the room smelling of sour milk until I borrowed my parents’ carpet cleaner.

The downstairs toilet has been leaking since we moved in (though neither of us are brave enough to actually venture into the room as it’s so damp and disgusting) but the plumber was courageous enough to put an isolating valve in to cut the water supply.

As far as we’re aware, the roof leaks in the utility are the last of them (fingers crossed, eh?).


The Making of the Sign

I made a sign for the garden, and this is how:

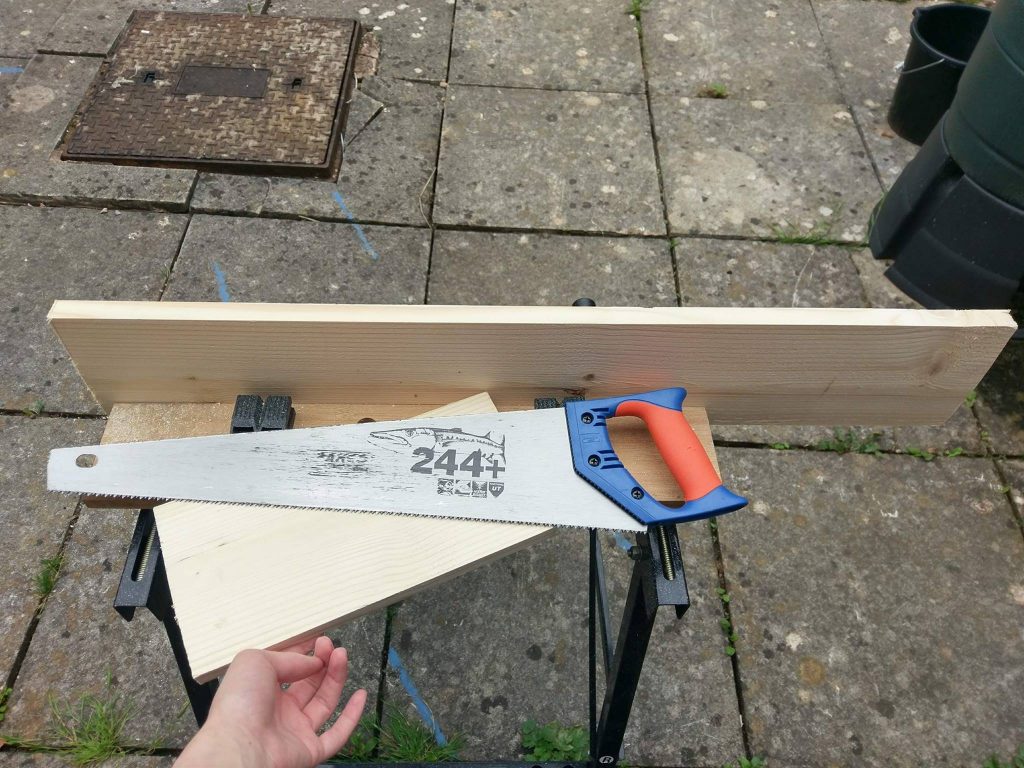
When we fixed the floorboards in the bathroom earlier this year, we had to buy new pieces of wood to replace some of the floor boards. We ended up keeping some of the off-cuts of the new pieces of wood and some of the nicer quality older pieces after my insistence (because I’m a bit of a hoarder but also because I knew I wanted to make a sign for our kitchen garden).

I found a font I thought would look nice and printed out the wording in the size that I wanted it and selected the floorboard that fitted the wording the best. I had to cut it down a bit.

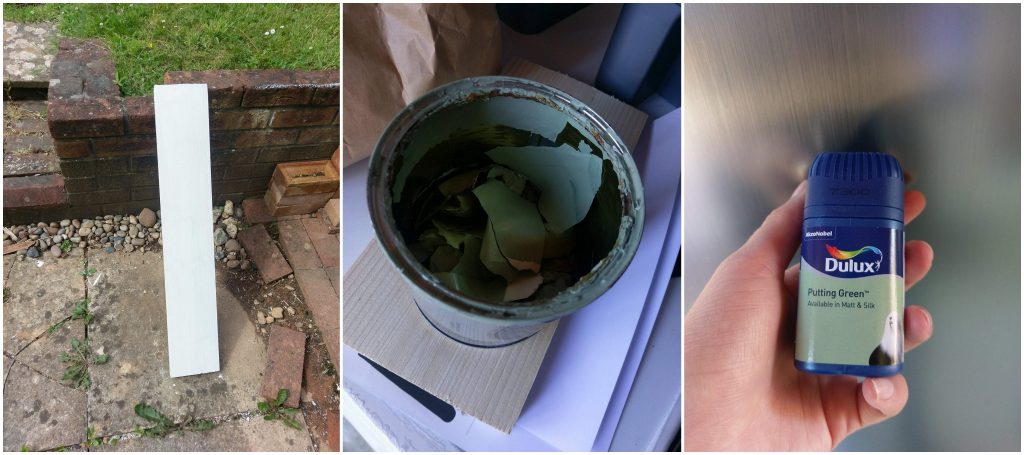
We have lots of left over paint in the shed so I coated the wood with one of the primers we had lurking around and let it dry in the sun.

I had intended to use some leftover green paint which, we’d used to decorate our old flat , to colour the floorboard as it was exactly the same colour as our new front door. However that plan was scuppered when I opened the tin. Never mind, instead I quickly nipped to B&Q and bought a tester pot in a similar colour. One tester was enough for one coat of the plank, it looked fine so I didn’t bother with a second.

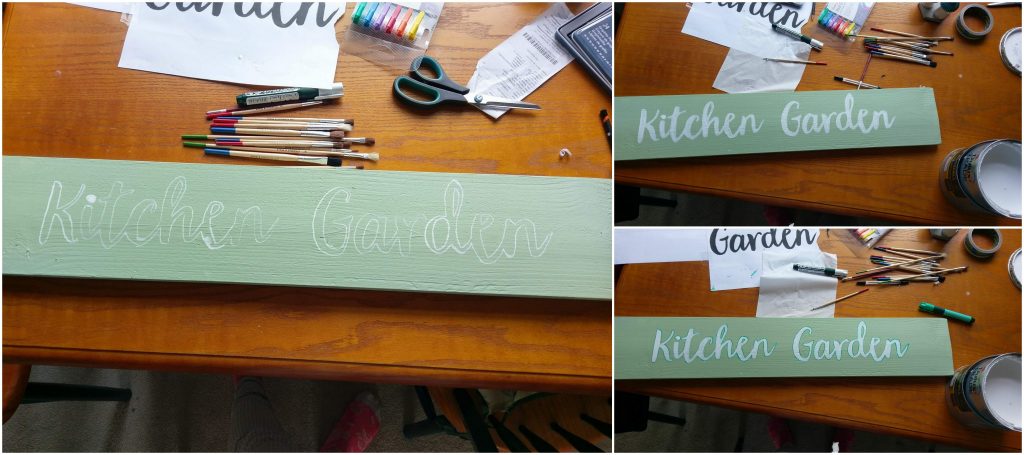
Next I used the print out of the text and I drew the outline of the letters on the back of the paper in a bold (7B) pencil and I placed the pages on the wood where I wanted the text to be. With the printed side facing up, I used a HB pencil to draw the outline of the letters  and transfer the graphite from the back of the page onto the wood.

I used a chalk pen to go over the outline of the pencil and enabling me to colour inside the line with some white paint we had left over from the woodwork in the bedroom.

I was quite happy at this stage and should have just left it here but I wanted a bold outline (which I now regret doing).  It did need a bit of a darker outline but I went for the wrong colour as it was the only green chalk pen we have. It’s fine though, I could have gone over it in another colour but I didn’t have anything more suitable.

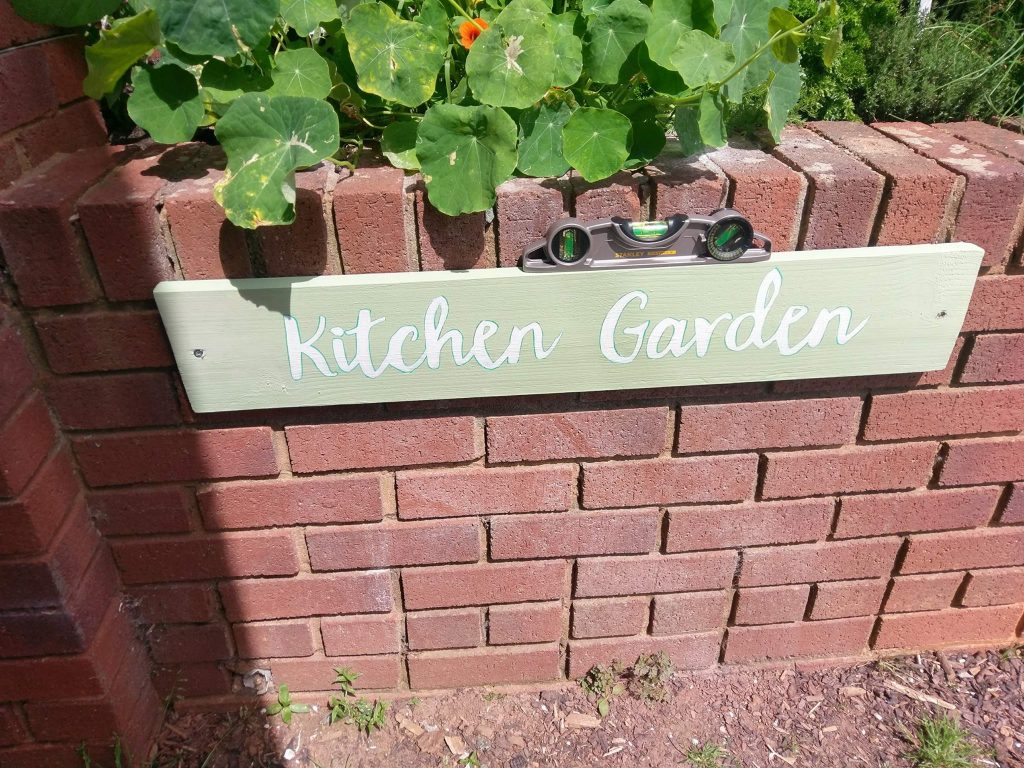
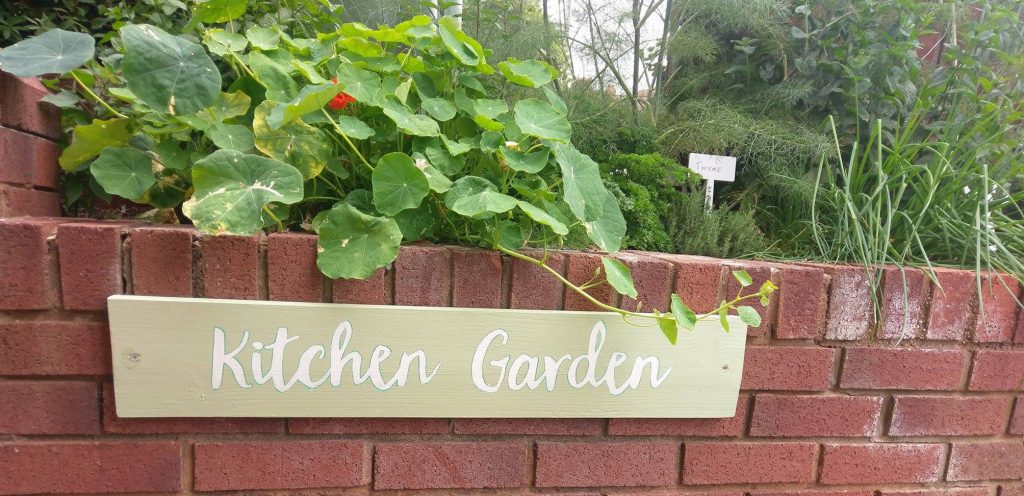
I coated it in two layers of wood treatment before I put it outside so it’s waterproof and I hung it up yesterday on the wall of the kitchen garden and I was pleased with myself because I even managed to hang it straight.

It spends a lot of it’s time being covered by the nasturtiums above it, becasue they have gone crazy, but that’s a good sign.