Transformation: The Master Bedroom

When we thought back to the start of the decorating process for the bedroom, we realised that it had actually taken us a year, from start to finish. We’ve been sleeping in the back bedroom during this period, which is smaller and quite cramped. So it makes moving back into the main bedroom feel like it’s a lot bigger!

The thought depressed us a bit, as throughout the process we seemed to be constantly chasing people up, doing our bit relatively quickly then chasing even more people up. I think in the future we’re going to have to learn to stop chasing people and just find someone who actually wants the work (alternatively we could just try and do it all ourselves, save the electrical, to speed up the process).

Yet, through all of the problems we’ve had, we’ve managed to complete another room and I’m pretty pleased with the results:


Long before we began any decorating, we hired an electrician to install some more sockets in the room, as we only had one near the door to begin with. The new ones we put in were supposed to be positioned for the bed, but we changed the layout in the end, so it was a bit of a waste. A replacement radiator was also put in as when we went on holiday we came back to a big leak in that room. We also had the window replaced not long after we’d moved into the house.  We had the issue, as we’ve had with all windows in our house, that it left the cavity exposed and we had a builder bolster our the plaster and put in some plasterboard to cover the gap. The end result looks good.

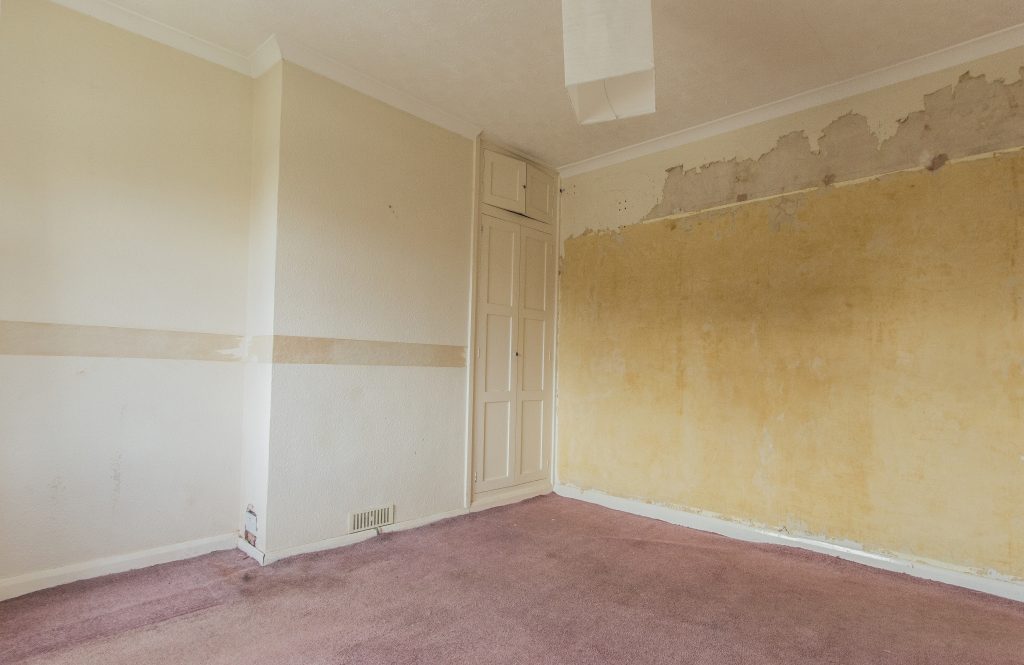
Next we stripped off all of the old wallpaper which was surprisingly (and suspiciously) easy to do in this room, when it came off in big chunks. Then Paul had fun ripping out the built in wardrobe.
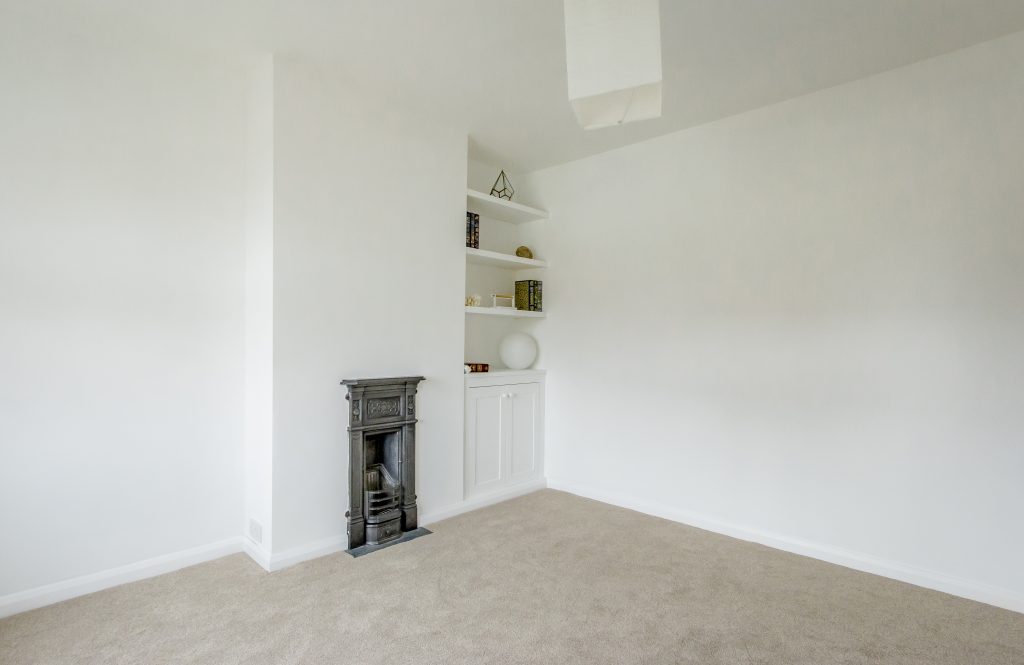
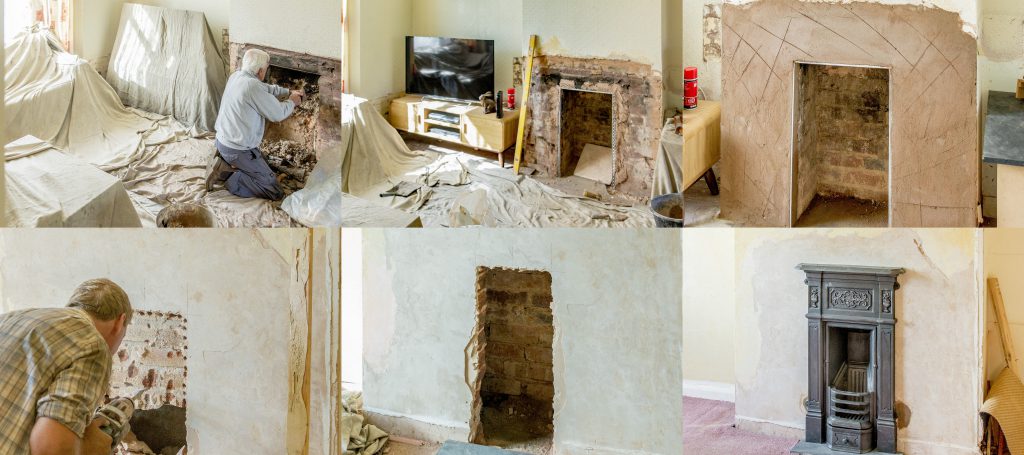
As we took the wallpaper off, we discovered that there used to be a fireplace in our room, so I changed the plans and delayed things further by deciding that it would be nice to put one back in.
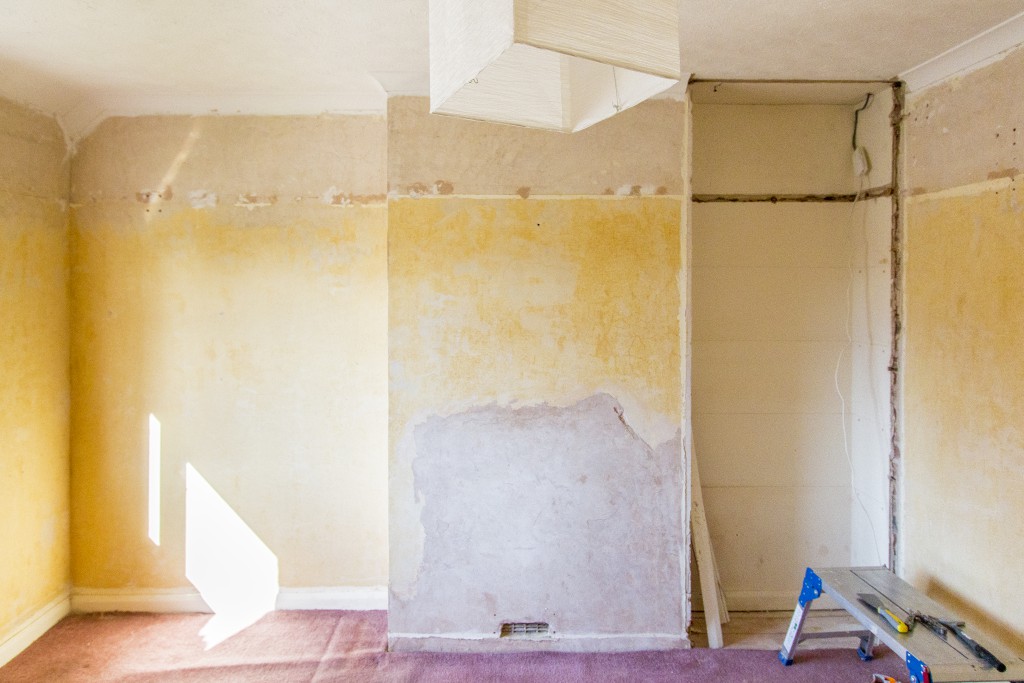
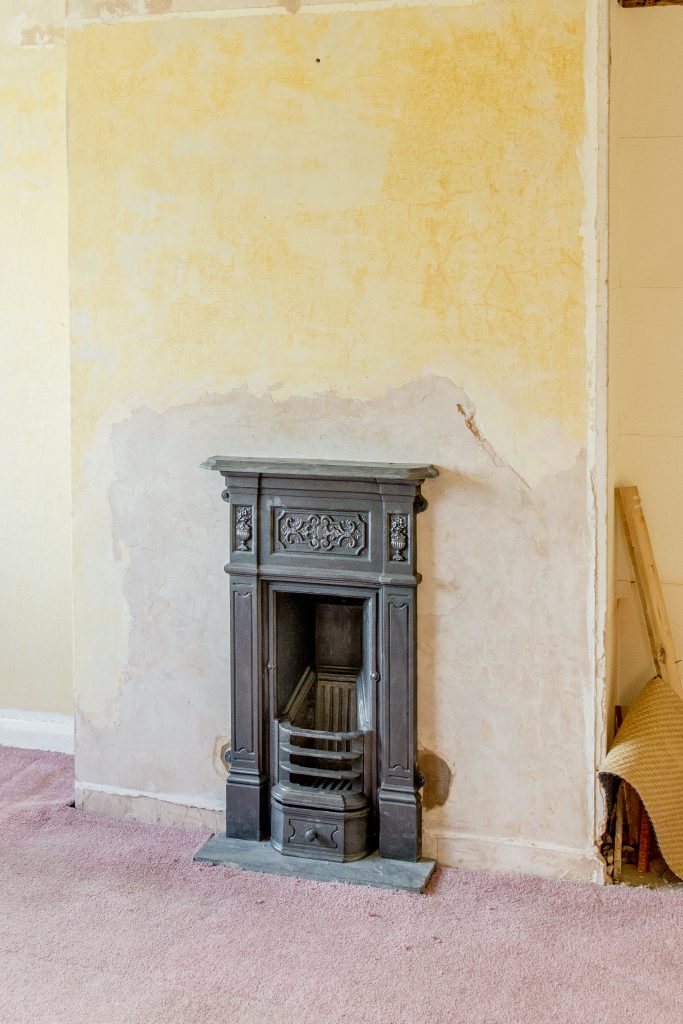
We used a local company, who we’ve used for a few jobs around the house to put in the fireplace. We reduced costs by buying a second hand, replica Victorian fireplace from a vintage furniture shop for around £50 including an old bit of slate for a hearth.
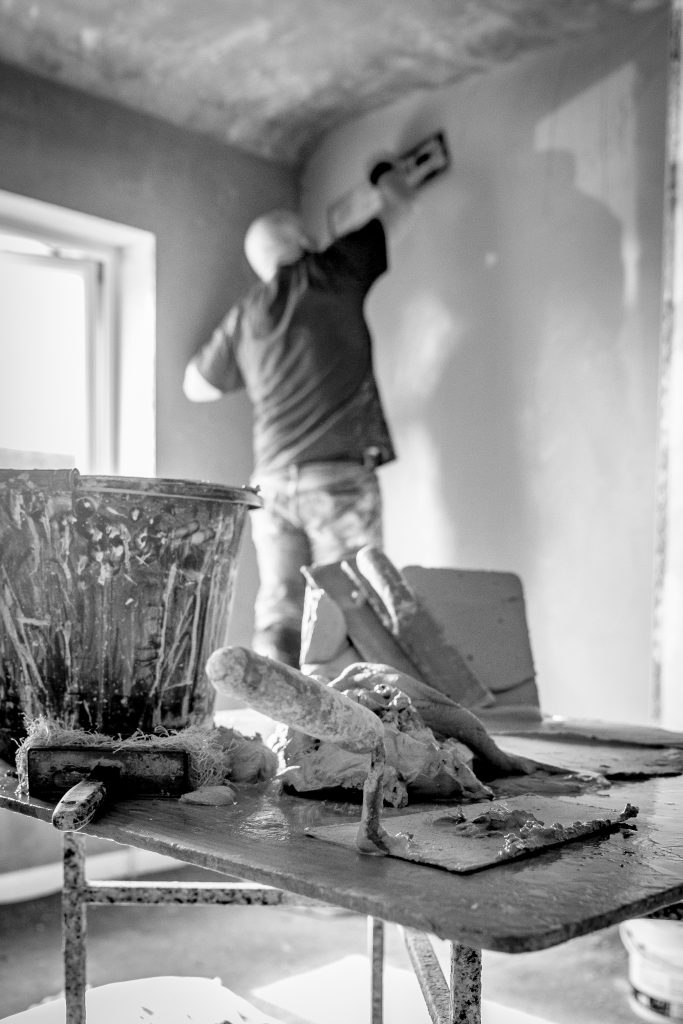
We hired a new plasterer, as the one we used previously wasn’t responding to any calls or texts from us. The new plasterer was more expensive but in fairness, I felt he did a bit of a better job too.
We’ve decided to paint the walls white, because Paul has some sort of aversion to colour. I agreed as long as I’m allowed to accessorise with colour instead, this has yet to happen, as we’ve run out of our home improvement fund at the moment and want to save up again. But we’re looking for bits and pieces.

We had some shelves and a cupboard put into the alcove where the wardrobe was ripped from. And again, we used a different carpenter from before, because he also stopped replying to us. So it was carried out by the same company we used for the fireplace.
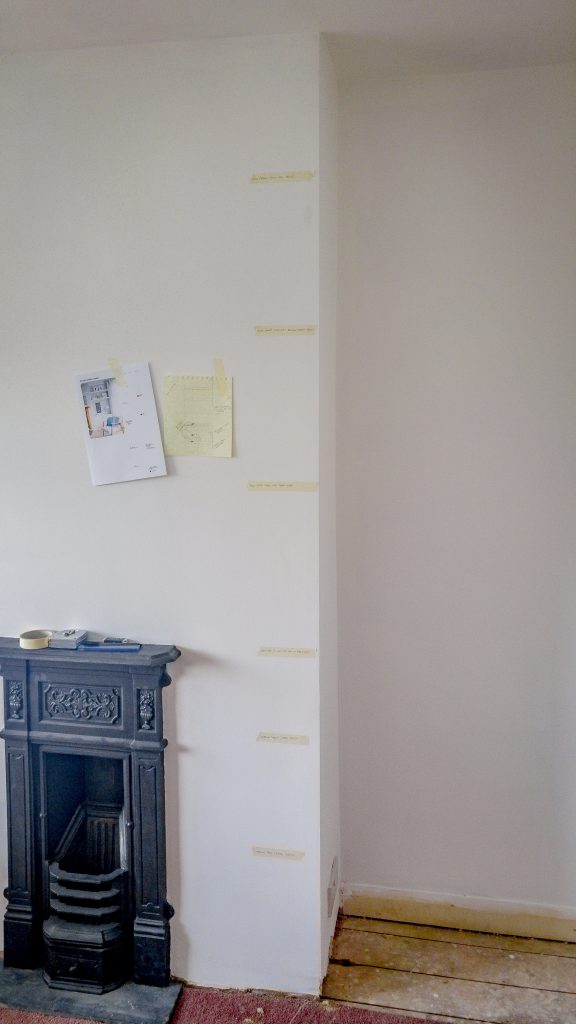
We weren’t sure how best to give the details to the carpenter, so we asked for specific gaps between the shelves by using masking tape, and left a picture from Pinterest, as reference

Once the shelf was built for us, which only took two days, we primed and painted it all, along with the skirting board. Finally seeing the shelving all done really felt like the room was coming together and like we were approaching the end.

On the 3rd May we finally had some thick, luxurious carpet put in, bought from the same local shop which gave us a good deal on the one we had put in the study. This time, we chose one of the most expensive, luxurious carpets and it was most definitely worth it. It was £29 per sq meter but we supplied our own underlay as I could get it discounted from work.
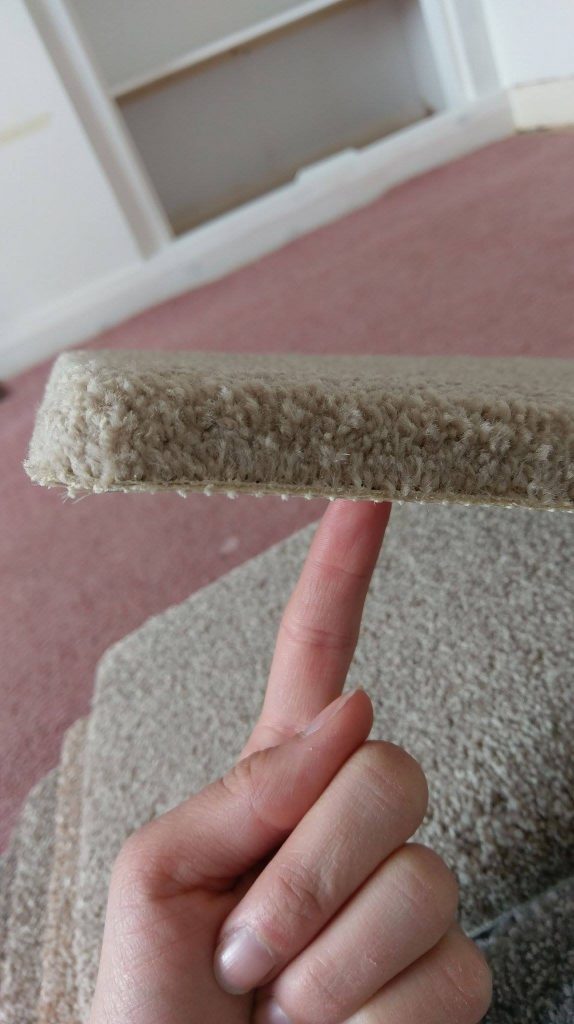
We were able to take the carpet samples home with us and were glad that we did as they looked lighter in our house than they did in the shop. We chose a shade called ‘shadow’ from a range called Merion Luxury by Lifestyle Floors. It is fantastically soft, and feels so nice under foot. Especially compared to the awfully thin carpet that used to be there.

You can really sink your fingers into it

In fact, when the carpet fitters came to actually replace the old carpet, we actually discovered that the thickness of just the new underlay was more than the old underlay and carpet put together, as the door now scraped across the top of it. That meant that we had to take the door off completely to get the new carpet in. And rather than just planing off a bit from that door, we had to saw a good chunk of it off the bottom, and try and put it back together again! Thankfully it worked and now opens nice and quietly.

We were all ready to move back in when we suddenly remembered that we didn’t have any curtains in there. So we had a couple companies come around and quote for fitting blinds, after several companies ignored our initial requests.

We think the moral from doing this room, is making sure that you get good workmen who actually respond to you. If they don’t reply, don’t waste your time with them.

One blinds company was significantly more expensive than the other, but even the cheaper one was more than twice the price of the exact same blinds online. So in the end, with our savings getting close to disappearing, we didn’t go with either and instead opted at fit them ourselves.

We ordered the ‘Great white’ range from Web-blinds, after I ordered a few free samples from them to begin with. One arrived very dented and I was not particularly happy about it but having it replaced would have delayed our moving back into the bedroom, so we just went ahead and fitted it anyway. It was relatively easy, and for the amount of money we saved, definitely worth it.

I emailed Web-blinds about the dent and asked if we had any issues with it, would they be able to replace it, and they were absolutely brilliant. They said to fit it for now, and they would send a new one without needing the old one to be sent back. They suggested donating the dented one to a charity shop or giving it away to someone who would use it. And the replacement blind arrived within a week and was in perfect condition.

After measuring the back bedroom window, we’ve decided that its roughly the same size as the front bedroom (another benefit of council houses) and that we should be able to use the dented one there instead, preserving a bit of our savings. The valance covers the dent mostly, but you can still see it when you’re stood beside the window, but we can live with it. I’m really happy with the blinds though and they do look good, though we do also need to invest in some curtains too, in the future. The rooms is still a bit echo-y without much in it at the moment, but hopefully that will change as start to fill it out.

We also finally fitted a set of blinds in the study too, which are exactly the same as the ones in the bedroom and were ordered at the same time. And whilst we were at it, we also put up a framed picture that my parents got me for my birthday last month.
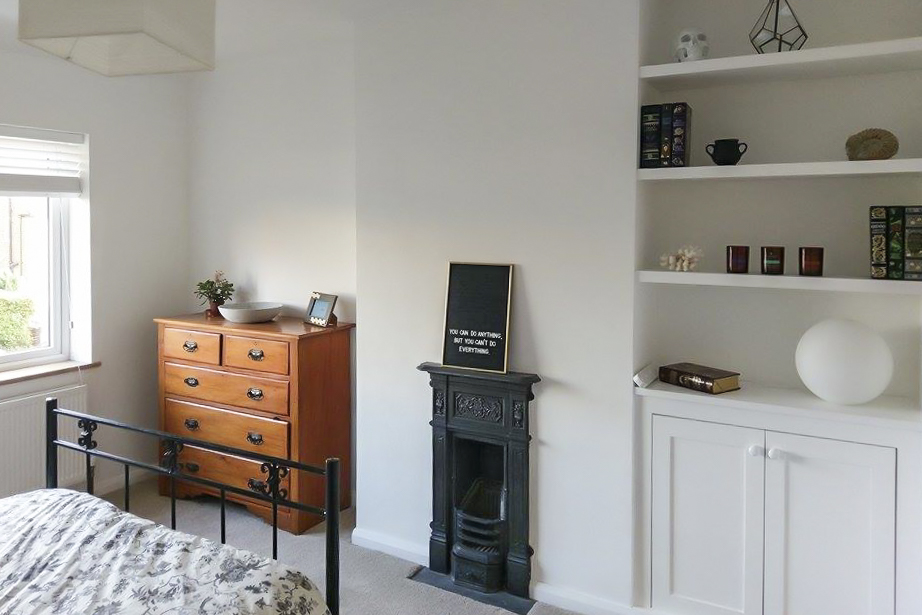
New blinds, new picture

A post shared by Kate Best (@caddiebest) on


Bathroom on the cheap

I may have mentioned in a previous update that I planned on doing some improvements to the bathroom in order to be able to live with it for longer – as our extension will not be happening now for some time.

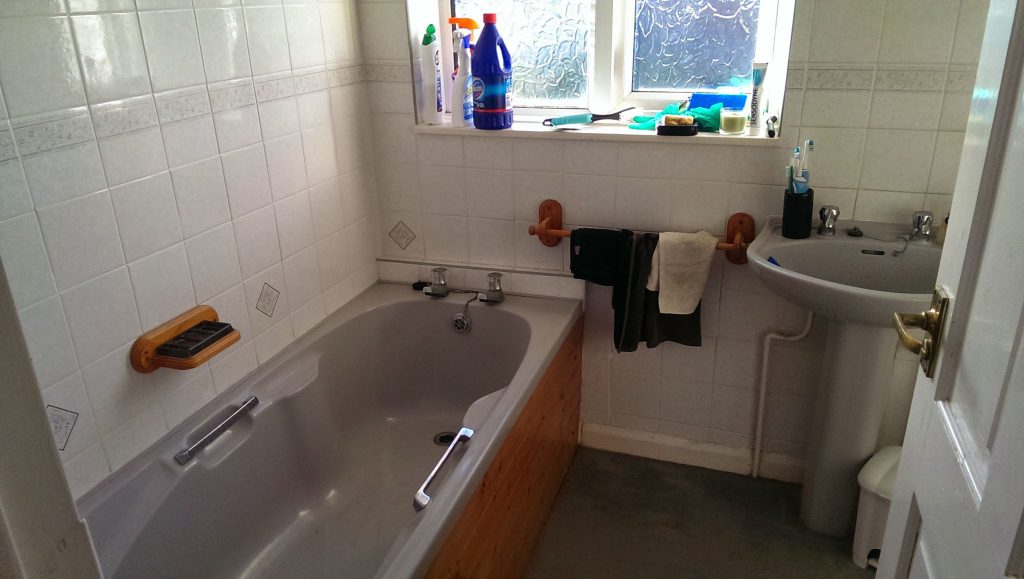
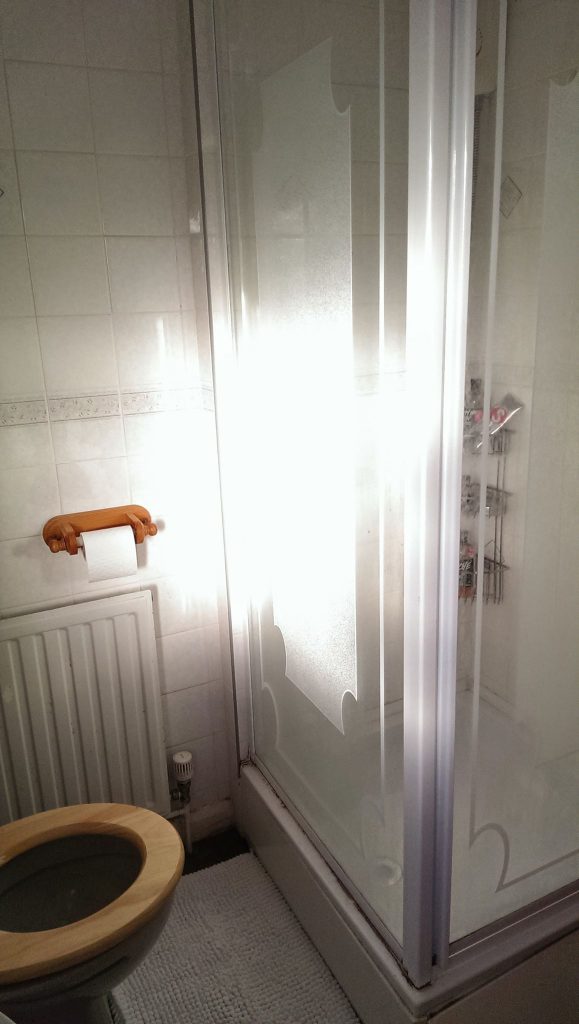
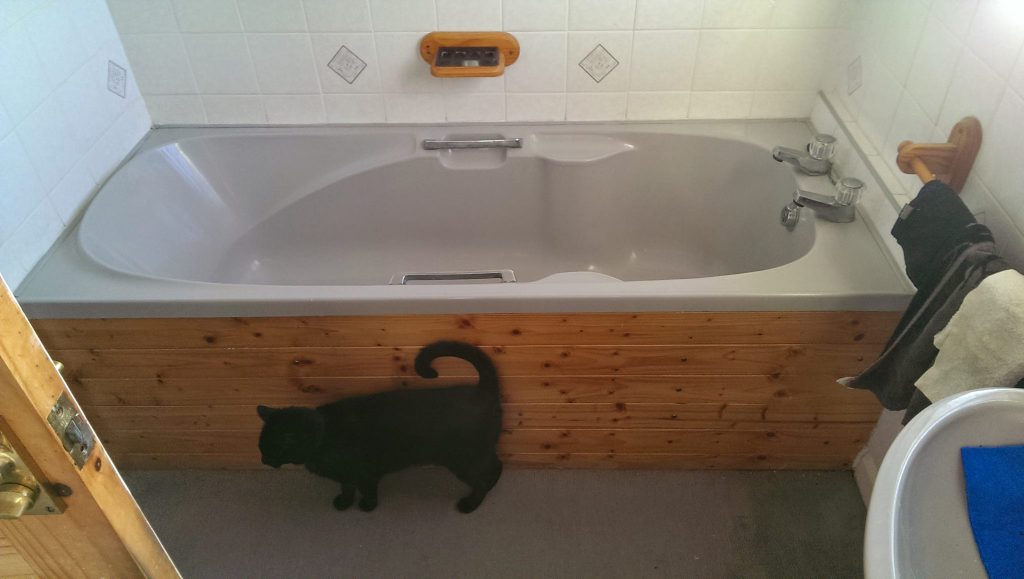
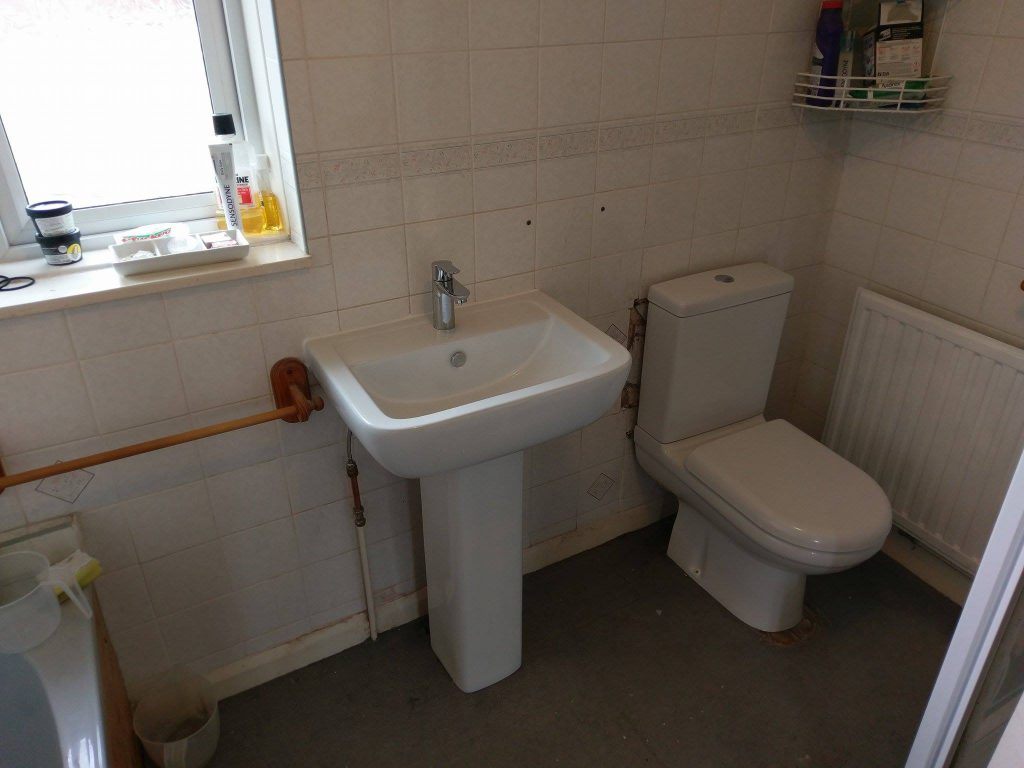
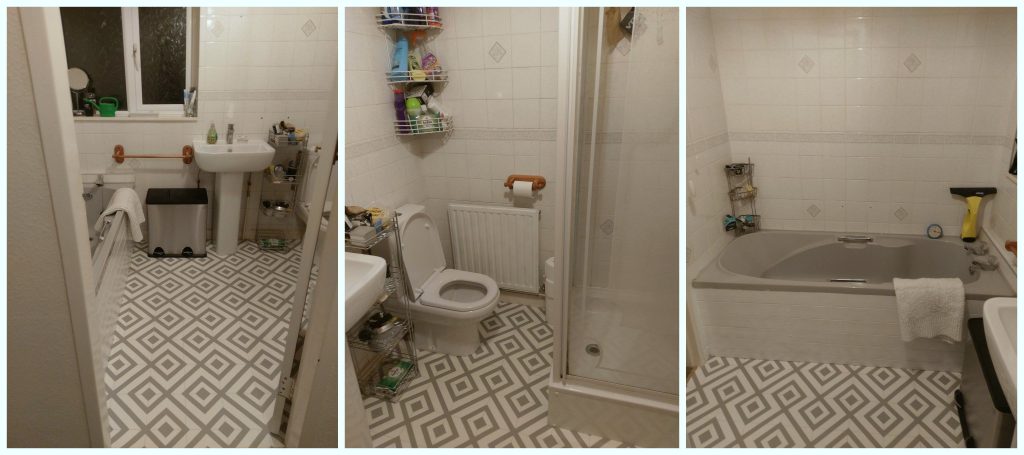
The old suite was all in grey paired with this awful orange-y wooden toilet seat and bath panel. In fact the original wooden toilet seat, when we moved it was so horrible we immediately threw it out. Paul replaced it on our first day in without letting me even looking at it, as he thought I might put off from going in the bathroom ever again! But even with that fixed, it was depressing to look at and with the grey floral tiles covering every wall, the room really just wasn’t cutting it. Oh, and did I mention the crusty grey carpet that was actually thinner that the vinyl we put down? With my medical condition, I actually spend more time than most in the bathroom so I have to look at it all quite a lot.

18236467_10212951405608661_1463466811_o

18236616_10212951407768715_945321467_o

These are the only pictures that I have of the old bathroom. They aren’t very good because, if I recall this was the day of moving in and I was busy trying to get pictures of it all and wasn’t really focusing much on quality at the time. I don’t think I would have ever expected to be publishing pictures of my toilet online (we can only go up in the world, I suppose).

Since the bath is a bit skanky and a bit small, we don’t really use it (except to wash all of the dirty paint brushes, rollers and trays). So the shower gets quite a lot of use, and unfortunately it was never sealed very well so it always left little wet patches on the nasty grey carpet. And if the shower got used a lot we even had a few water marks on the kitchen ceiling that’s underneath. Paul did try and fill in all of the gaps himself, and it helped a bit, but it didn’t really fix it. And we couldn’t do anything about the broken sides around the shower tray, so the first job we got done was fixing the shower, which I can confirm was much better than our own attempt. And now we’re safe in the knowledge that the flooring gets to dry out.

The next thing we did was to buy a replacement sink and toilet. We didn’t bother with the bath because it was expensive, and we don’t use it enough. The sink was one of the cheapest we could find and was in a clearance sale (bargain) and was actually quite nice. The toilet was probably the third cheapest option, so not too bad, but not a horrible flimsy one either. In total the sink and the toilet alone set us back about £125. The tap is a Grohe and cost about £50 including postage, I splashed out but it was worth the extra money. It makes the water all soft and bubbly and (best of all) it’s a mixer tap which means we can control the temperature and not have to scald ourselves with the hot tap.

However, before the new sink and toilet were installed, I spray painted the radiator. We could have replaced it and the new radiator would have cost around £20 but it wasn’t essential as it still works. I scrubbed it a bit with some steel wool and sprayed it all over. The radiator was a mixture of magnolia and white before I painted it, dotted with a few rust spots and flaking paint. The spray paint was from Amazon for £6. (If you look close, you can still see a few bumps and scrapes, but in general, it makes the bathroom look a lot better).

18261105_10212951427609211_187527605_o

We paid someone to install these, as although we’d be able to do it ourselves, we’d much rather a professional do it in case something goes wrong. (And also who wants to mess around with a dirty soil pipe when you don’t really know what you’re doing?)

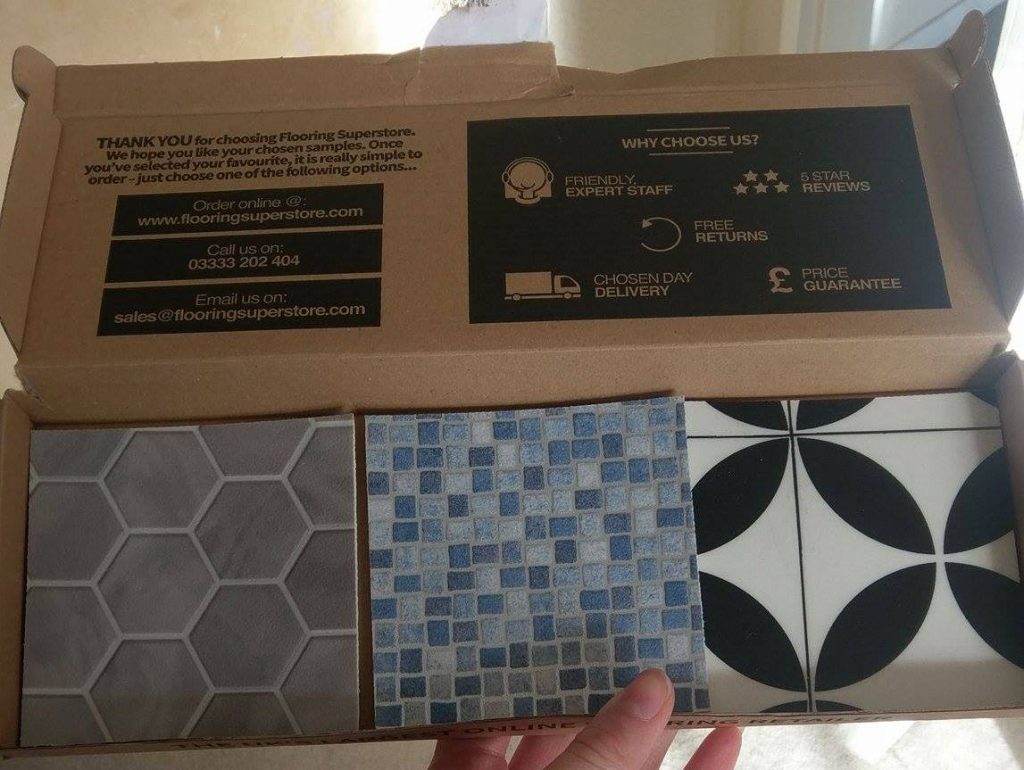
We ordered some vinyl from Flooring Superstore, who can send out free samples.  The cost of the flooring was £40 but the shipping was £14.

I didn't choose any of these

I didn’t choose any of these

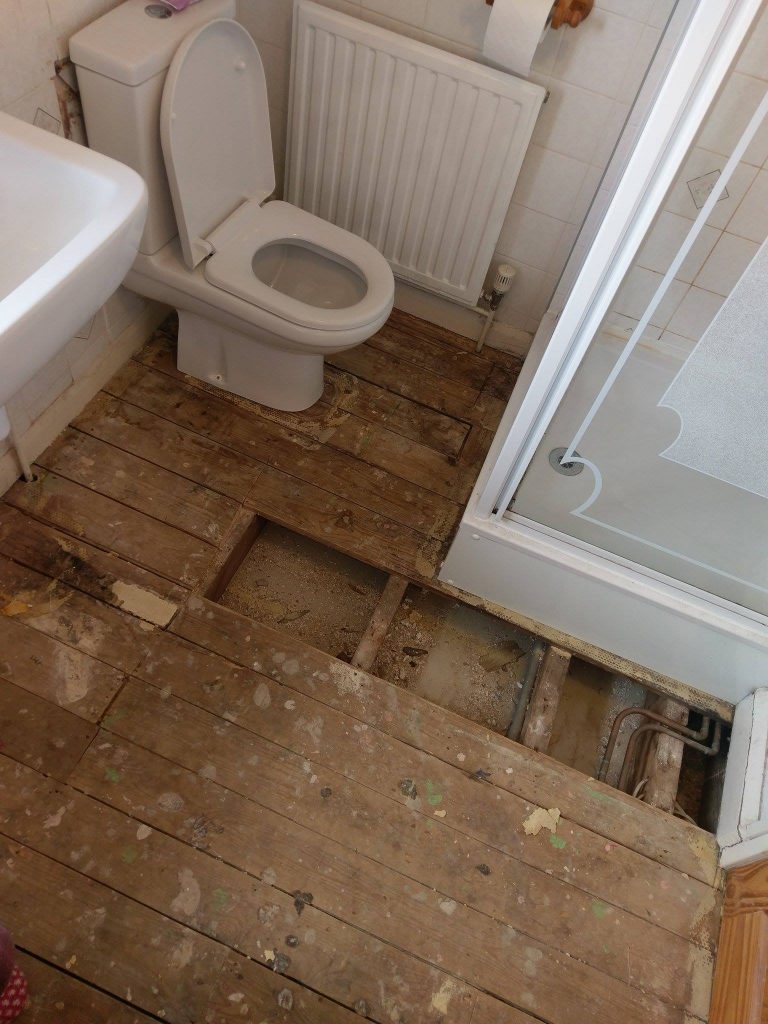
Before the vinyl was fitted, we decided to take a look at the floor boards because we could see a few dips and gaps under the carpet. And were glad that we did; there was two that were completely loose with a very large gap between them. Paul has decided that the previous occupants that did the renovations had a ‘that’ll fuckin do’ attitude, because one of the floorboards was actually a ‘tongue-and-groove’ board, whereas the rest weren’t. So obviously it didn’t fit properly and left gaps in the floor.

18289839_10212951388008221_1558010264_o

Paul took them out and we bought some wood from B&Q to replace them, and it was much better. Although a few of the boards were different thicknesses, so we had to plane them down and get rid of all of the spilt bits of plaster and, what appeared to be, old trodden in gum.

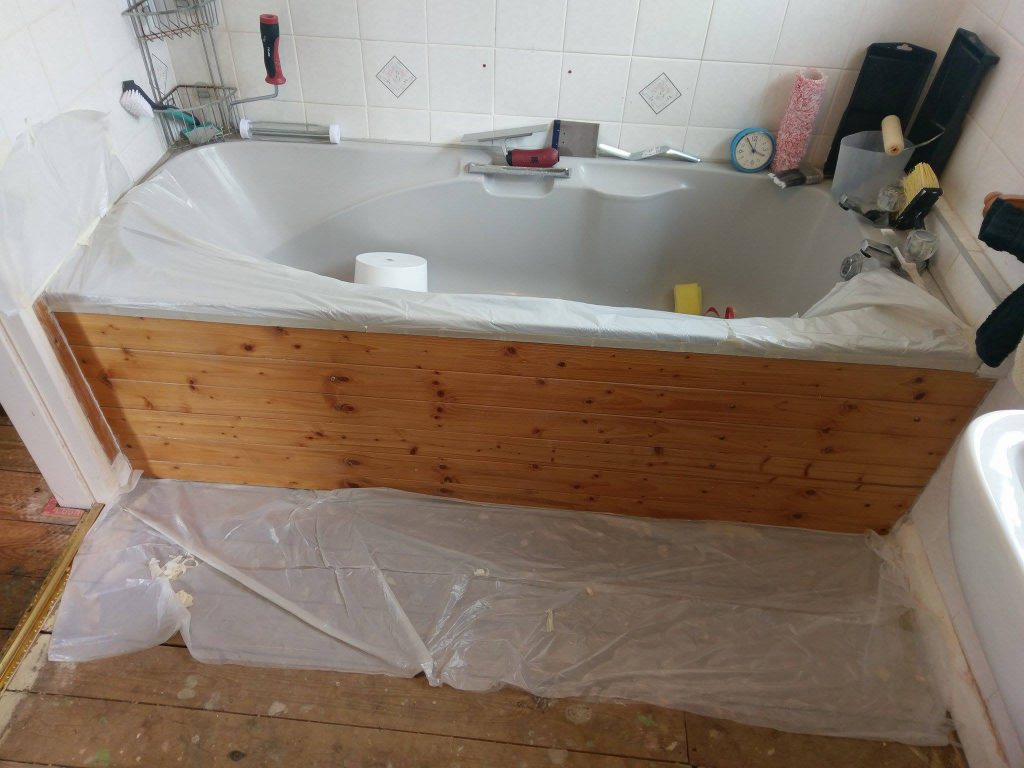
Bath before spraying

Bath before spraying

I decided at the last minute to spray the side of the bath white, in order for it match the rest of the room – as we didn’t replace it as we were trying to cut down on costs. I’m going to be honest here and fess up to doing a bit of a rubbish job. I didn’t bother to properly sand the side of the bath down, nor did I apply any primer. I just found some kitchen cabinet spray paint in B&Q and I wiped down the panelling after a very brief sanding and went for it. I used all of one can and by this point the colour was just starting to even out (downside to being lazy and not using primer) so I bought another. I paid £25 for the two cans.  If I’d used primer I wouldn’t have needed a whole can of the paint but then I would’ve had to buy primer as well and it was probably around the same price, so no regrets.

The bathroom is by no means perfect, we still have a crappy bath. There are still tiles that I hate, but the rest is fine.  And the vinyl is actually warmer and softer than the carpet that was removed, which proves just how awful the carpets are in this house. It also feels cleaner, although the new painted bath and nice clean vinyl shows just how faded some of the skirting is, so we need to give that a bit of a spruce and finish the last few bits.

The Times, They Are A-Changin’

I can’t believe it’s September! How time has flown.  Very little has happened in the last few months, but it was a hive of activity the Monday before last.

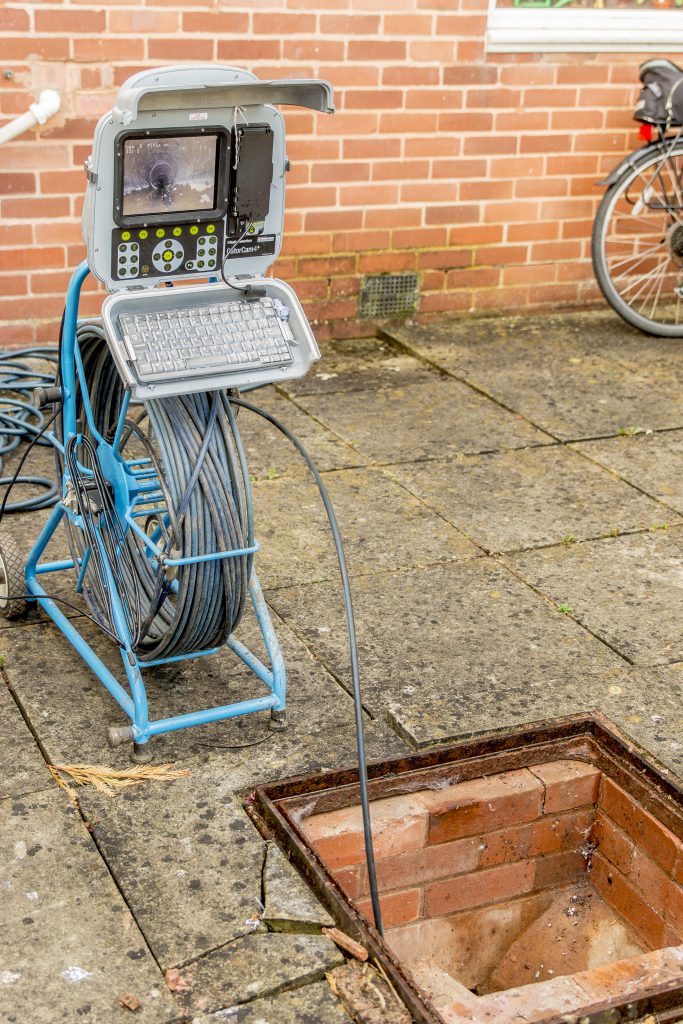
On Monday 22nd we had a lady from ‘Hi-tech Drains’ around to find out where the drains in our back garden lead to and two fireplace men who are fitting the fireplace in the bedroom and readying the living room for a log burner.  We had the electrician around again the week before to tidy up a few loose ends.  Now that the bedroom fireplace is fitted, we are ready for the plasterer again and hopefully to start some decorating in the living room too.

img_1399_29237381815_o

Hi Tech Drains

The drains are the most important as they will affect where the extension can be built. We actually have two manholes in our garden but some of our drains actually use another which we share with a neighbour. The engineer noted how strange this was, but it ‘s only to be expected with all of the other weird and wonderful quirks of the house.

The main drain that we are interested in goes into the neighbours garden which is where it becomes property of Southwest Water because it’s then shared. If it’s shared then there are a lot of rules about building near it but we are hoping that if we divert the water from that particular manhole into another one instead then technically it isn’t used by us and then it’s the neighbour’s private drains and pipes which means that we should be able to build where we like. We will have to check that this is the case though as it’s bound to be more complicated than it really needs to be.

img_3776_29342252335_o

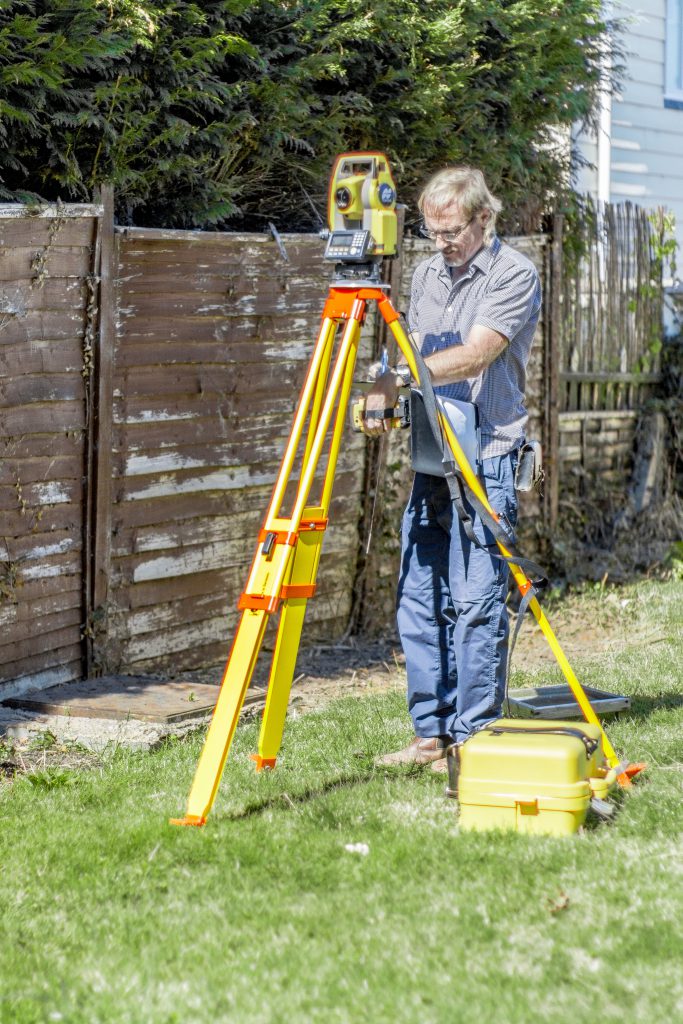
We had a surveyor around last week who took some detailed measurements of both the house and the markings left by the drain engineer, which the architect will use to make some detailed drawings for us, then we can discuss what we can do in regards to the drains.

sept2016

The fireplaces is something that has been needed for about a year, particularly downstairs where the hole in the wall is a constant eyesore and something that makes me really want the work to progress because i was getting very fed up of looking at it everyday. Though I have been told that I’m not allowed a log burner this year because there are more pressing jobs that we wouldn’t be able to afford if we had one put in 🙁

LG-H815

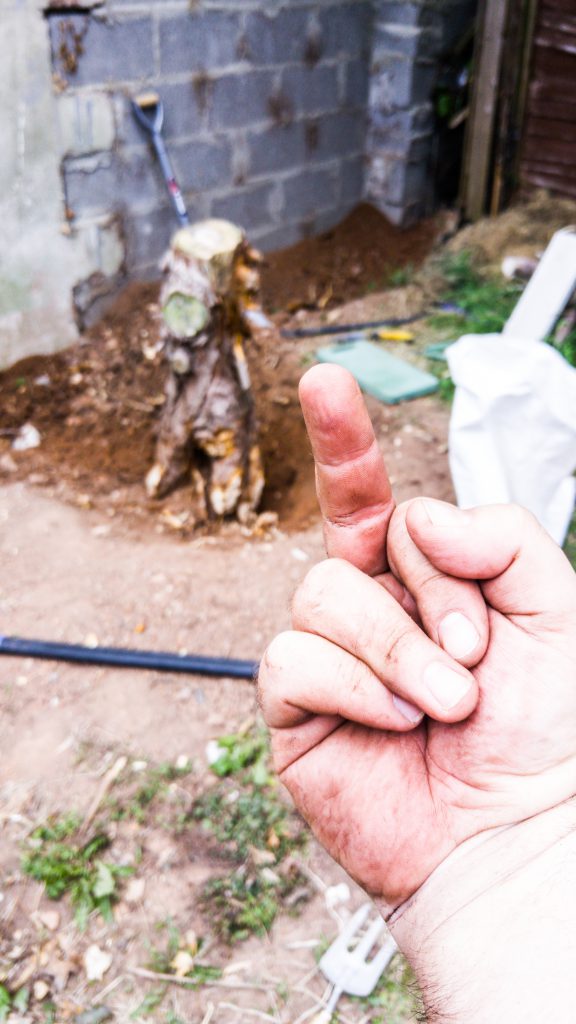
Paul wasn’t having much luck pulling the tree stump out

We’ve done some work in the garden, too. A lot of work actually, but you wouldn’t know it just by looking. We’ve had countless trips to the dump – which luckily isn’t far from our house. We’ve fully removed the back fence now and waged war upon the ivy which had taken over everything; it’s slowly diminishing but isn’t dead yet. We’ve added a few square meters onto our garden just by removing the back fence and cutting down the bushes.  I did an absolutely sterling job of trimming the hedges that were hanging over from the neighbour’s garden (if I do say so myself). I’ve encountered so many spiders that I can now confidently kill any that are smaller than my little finger nail.

LG-H815

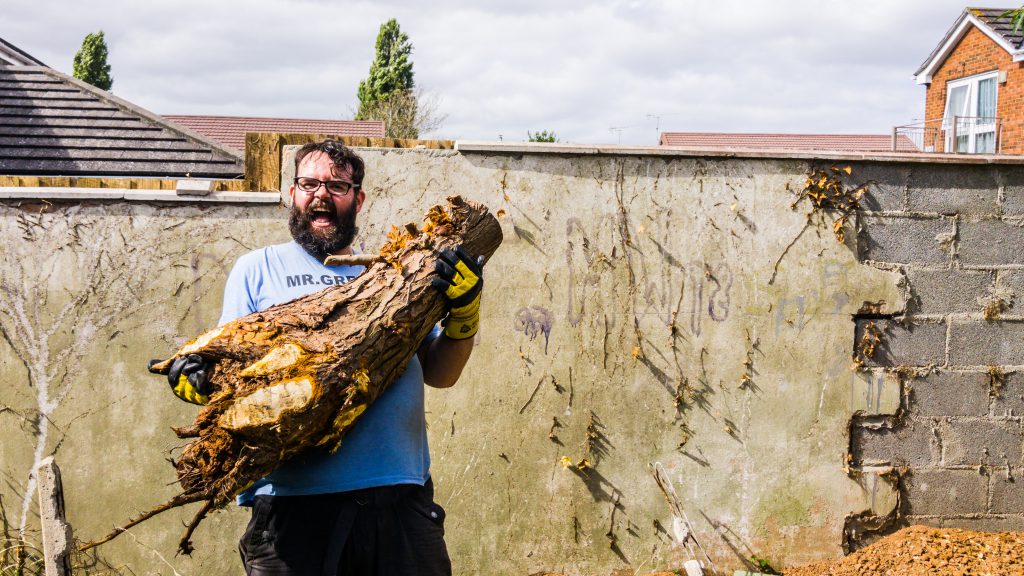
The face of victory

Paul has successfully managed to pull out the stump of the tree that we cut down. It was tough work which involved digging down a foot or so and cutting through the roots before finally prying it out of the ground.  We also have a series of concrete posts in our garden which we intend to take out – all still strung with thick wire rope and a mesh fence – it’s a pain because the ivy is all entwined and it’s hard work trying to remove it.  We’ve used copious amounts of weedkiller and yet it hasn’t really had an impact on it.

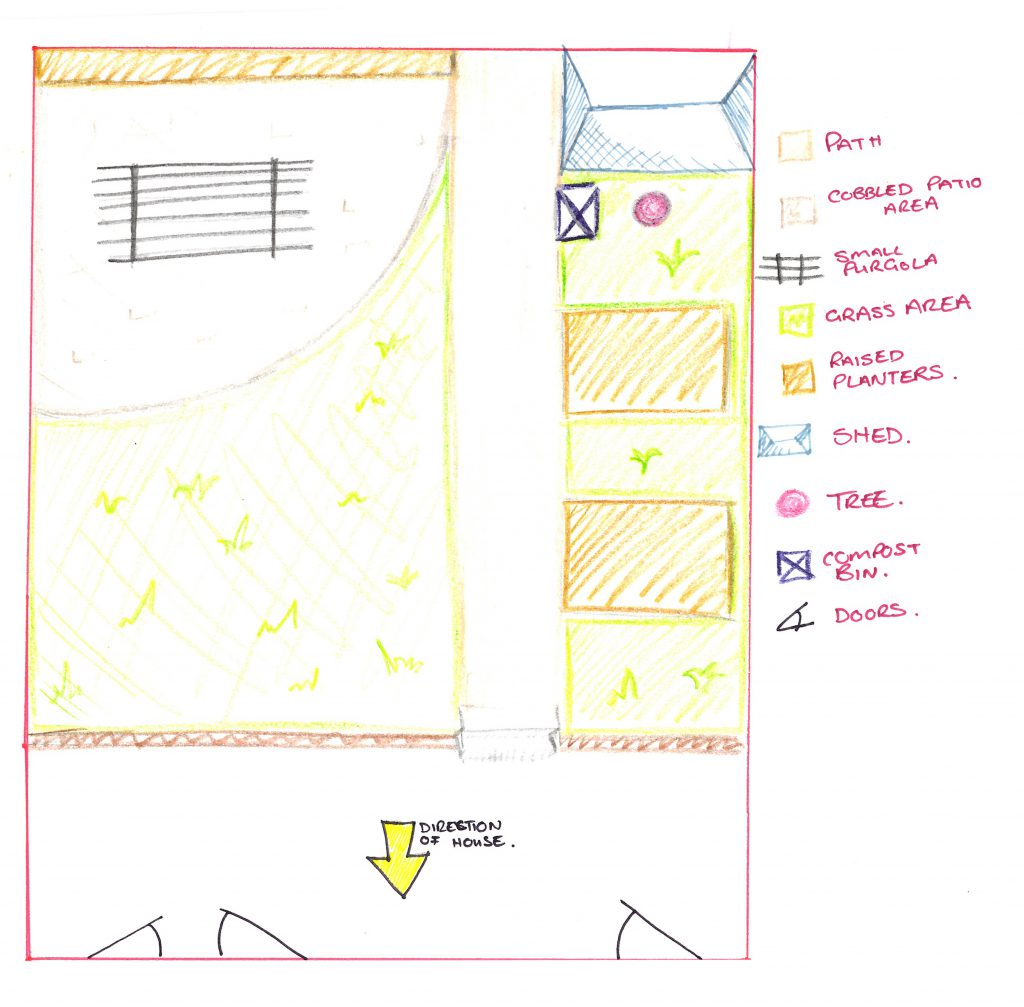
The garden is no longer recognisable as the garden that it once was. Not that it looks good at the moment, just bigger. I do have a few ideas for the garden but it’ll be a long time before they’re acted upon.

A rough idea of the future of our garden

A rough idea of the future of our garden

Within the house, we have made the grim discovery that we have metal door frames throughout. For those of you who are unaware of metal door frames – count yourselves lucky.  Initially it didn’t mean much to me, I just thought we could take them off and replace them with wooden ones.  Metal door frames, however, actually support the structure and if you remove them you need to put in lintels above your door.  In all, the easiest thing to do is to keep them and when we swap around the doors someone will need to use an angle grinder to cut out new holes for the hinges. Hopefully we can discuss that with a builder when they come over next.

In other news, our court case is ongoing and long winded – as we knew it would be. We are determined though to get our hard-earned money back into our possession in order to continue planning our extension. Bad times, my friend, bad times 🙁

After talks with some professionals, it seems that our builders have also under-quoted us which means that the extension is going to be put on hold for a bit longer, we will continue to work towards it but it won’t actually be started for a while now. At least we know now, rather than when it’s too late.