F*ck it.

I’d like to dedicate this post to the billions of DIYers who actually prepare themselves for the job they are about to do in advance. The people who buy all of the materials the week before, research exactly what they need to do and buy good quality products only to get down to the job and for it all to go tits up.

In the last month I think I’ve said ‘Fuck’ more than any other word. Even more than ‘Shitting tit-balls’ and especially more than ‘Twatwaffling douche-guzzler’. In fact DIY has really expanded my vocabulary in all sorts of interesting ways.

I really wanted this next update to be the post in which I show you how lovely my fully decorated but unfurnished ‘study’ looked. This is not that post.

You’d think that with me working in a tool and hardware store that I would possibly be one of the more prepared DIYers. I am not. In fact I’m beginning to see why some of my customers are always in such a crappy mood.

Painting

Painting


How hard do you think changing a radiator could be? On a scale of 1-10 I probably would have given the job a 3 if changing a lightbulb was a 1. When I measured the old radiator I bumped it up to a 4/10 because annoyingly it was a 29″ radiator not a nice easy metric number. I looked into it and only one company still make imperial radiators (Myson). Fortunately I looked into it further (because Myson rads cost double what I was hoping to pay) and found an absolute genius piece of plumbing called a Union tail valve which I could use to extend the valves and fit in a smaller but more common 700mm radiator. I was so impressed by this little lifesaver.

But wait! There’s more…

On Saturday night a couple of weeks ago, I finished work and had planned to put up the radiator with Paul. We brought home our new radiator, unpackaged it and found a tiny (and I really do want to stess how miniscule it was) chip in the paint. To be perfectly honest, if all was going to plan at this point we’d just have left it that way. The chip was, annoyingly, placed perfectly in the centre at the very top of the radiator – so possibly in one of the most noticeable places.

Whilst Paul started to digest the wall-mounting instructions I started to screw on the Union tail valve and wasn’t having much luck.  It turns out that the lack of luck was due to the fact that half of the TRV (thermostatic radiator valve) was still on the old radiator – which would have been fine as it was still in our garden – but when Paul went to fetch it it became clear that the radiator wasn’t going on the wall that night as an excessive amount of sealant had been used to attach half of the TRV to the old rad. To top everything off, the pipes coming from the floor were too close to the wall to fit the new radiator. We had to cancel the carpet fitting which was due a couple of days later and get in touch with some professionals.

Plan C.

I went to work the next day and chose a suitable new TRV and lockshield (not even going to go into how I originally, stupidly, bought the TRV without the lockshield). To my despair, the TRV and the union tail valve still did not fit together, turns out the union tail valve was meant to be used on imperial TRVs. *sigh*

IMG_0262

I asked for the help of a very patient friend at work and he found me a small 15mm x 1/2″ brass bush that connected the two together, which solved our initial problem.  The copper, which needed moving,  was already quite loose and we had a handyman around who thought it would be a simple case of cutting a chunk out of the floor board and simply pulling the copper forward and inserting the chunk of wood in behind. We got in a plumber and this was not the case. Fortunately he ended up moving the pipes closer together and further out from the wall so we no longer needed the union valve or the bush and he even mounted the radiator for us.

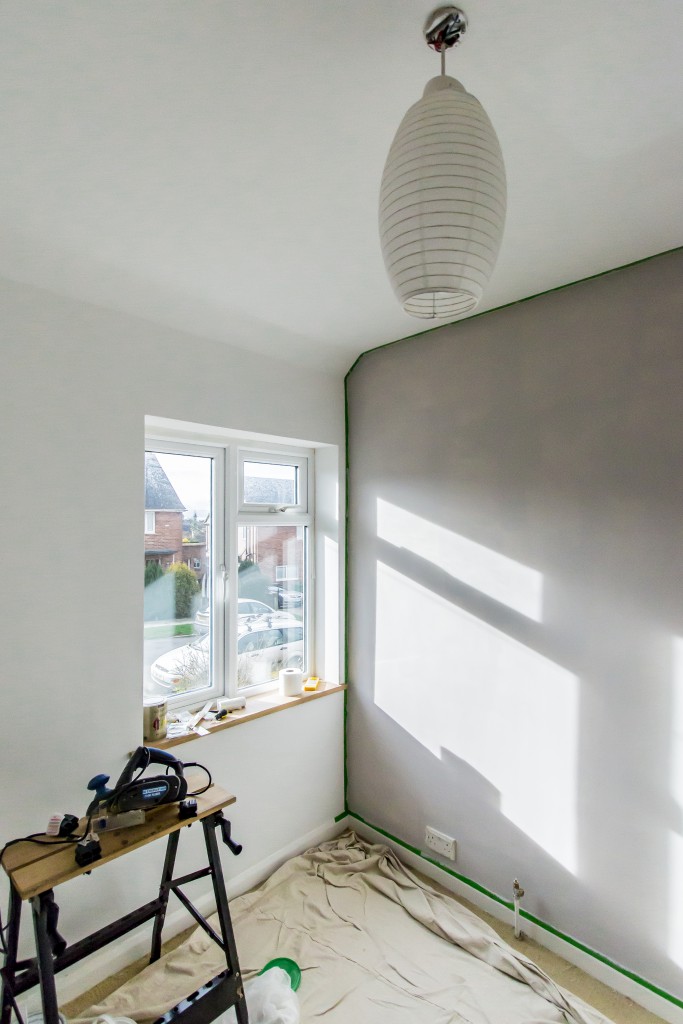
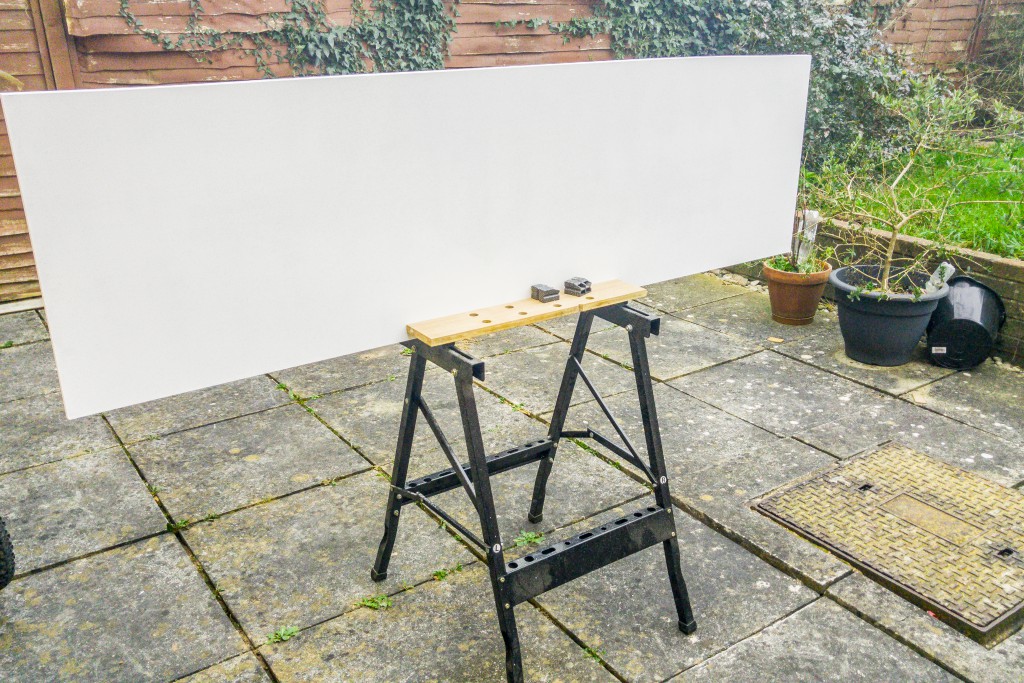
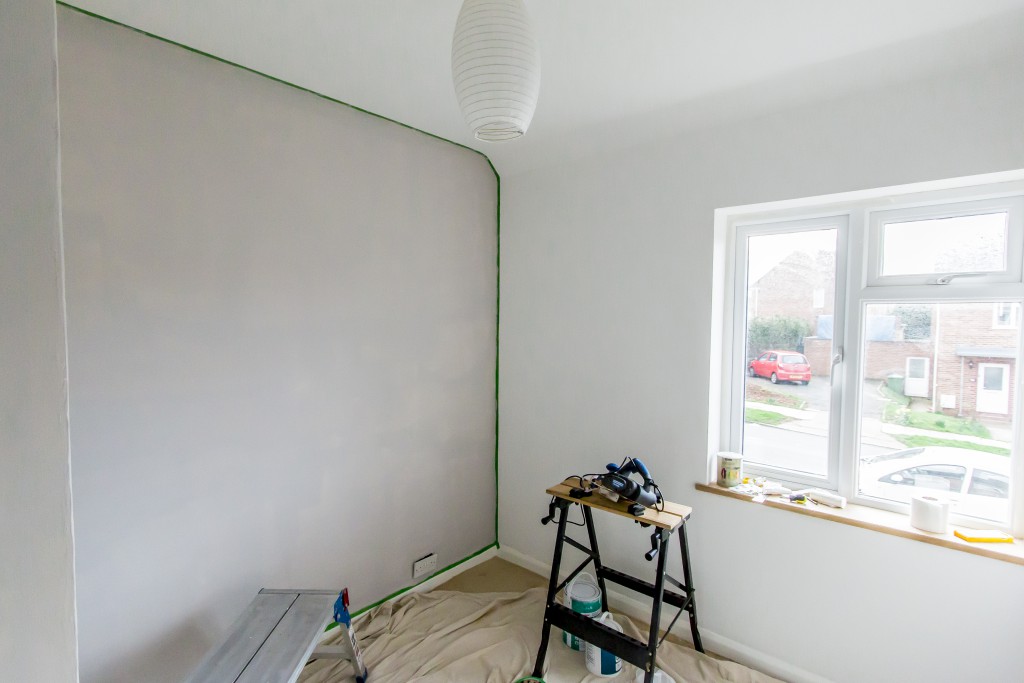
We’ve had to reschedule the carpet for next week but in the long stretch of waiting we’ve finished painting the room and the woodwork and Paul has made some (slightly wonky) doors for the cupboards. I’ve even bought a lovely yellow stool for the study which I had flown over from France. I found it online in a french department store called Mason Du Monde. I haven’t put it in the room yet, not even to see how it would look because it would feel like I’m cursing it (not that much else could go wrong).

wonky doors

Wonky doors

Fingers crossed the next post will be pictures of the finished room!


Architect

Since we first viewed our house, just over a year ago, we planned to build an extension. In fact 18 months ago we tried to put an offer in for number 54 (a house opposite us) which already had an extension. Number 54 had many extensions, none of them approved and it was a bit of a higgledy piggledy house with more charm than sense really. But charm us it did, with it’s nonsensical floor-plan, room for a drive and more importantly; improvement.

We didn’t (obviously) wind up with number 54 in the end. As we tried to book a second viewing to invite our parents for their opinions, we had the call telling us we’d been thwarted. Thwarted, it later transpired, by an old work colleague of Paul.  In hindsight it was probably more of a blessing that we were discouraged at this point because it led to the purchase of our current house, which is a better point to start at rather than having to sit and listen to words like ‘retrospective planning permission’ and ‘indemnity insurance’.

So when our time came to view the house we knew we wanted more room before we’d set foot inside. We wanted as much room as number 54 had but we wanted to do it properly.

In August I emailed a few of the most suitable architects in the area and very quickly had responses. The very first response was from my preferred choice of architect. However, although he was very cordial via email, when he called me ask for further details about the project he was fairly patronising and decided our project was ‘too tedious’ for him. No loss there then.

Find an architect here

Always check they are ARB registered here.

(Of course, it’s always much better if someone you know has used an architect and can recommend one but if you are new to an area then this is a very useful site).

Around September we had a couple of architects around to discuss the project, both architects had very different approaches and I would have been happy to have gone with either one of them. By this point though we had a building firm in mind already who also had their own architect they worked closely with and we decided to give him a go.

Paul met with him a few weeks ago after a month of back and fourth emails and many missed calls. Yesterday his initial sketches of some ideas arrived in the post.

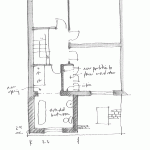
SK001

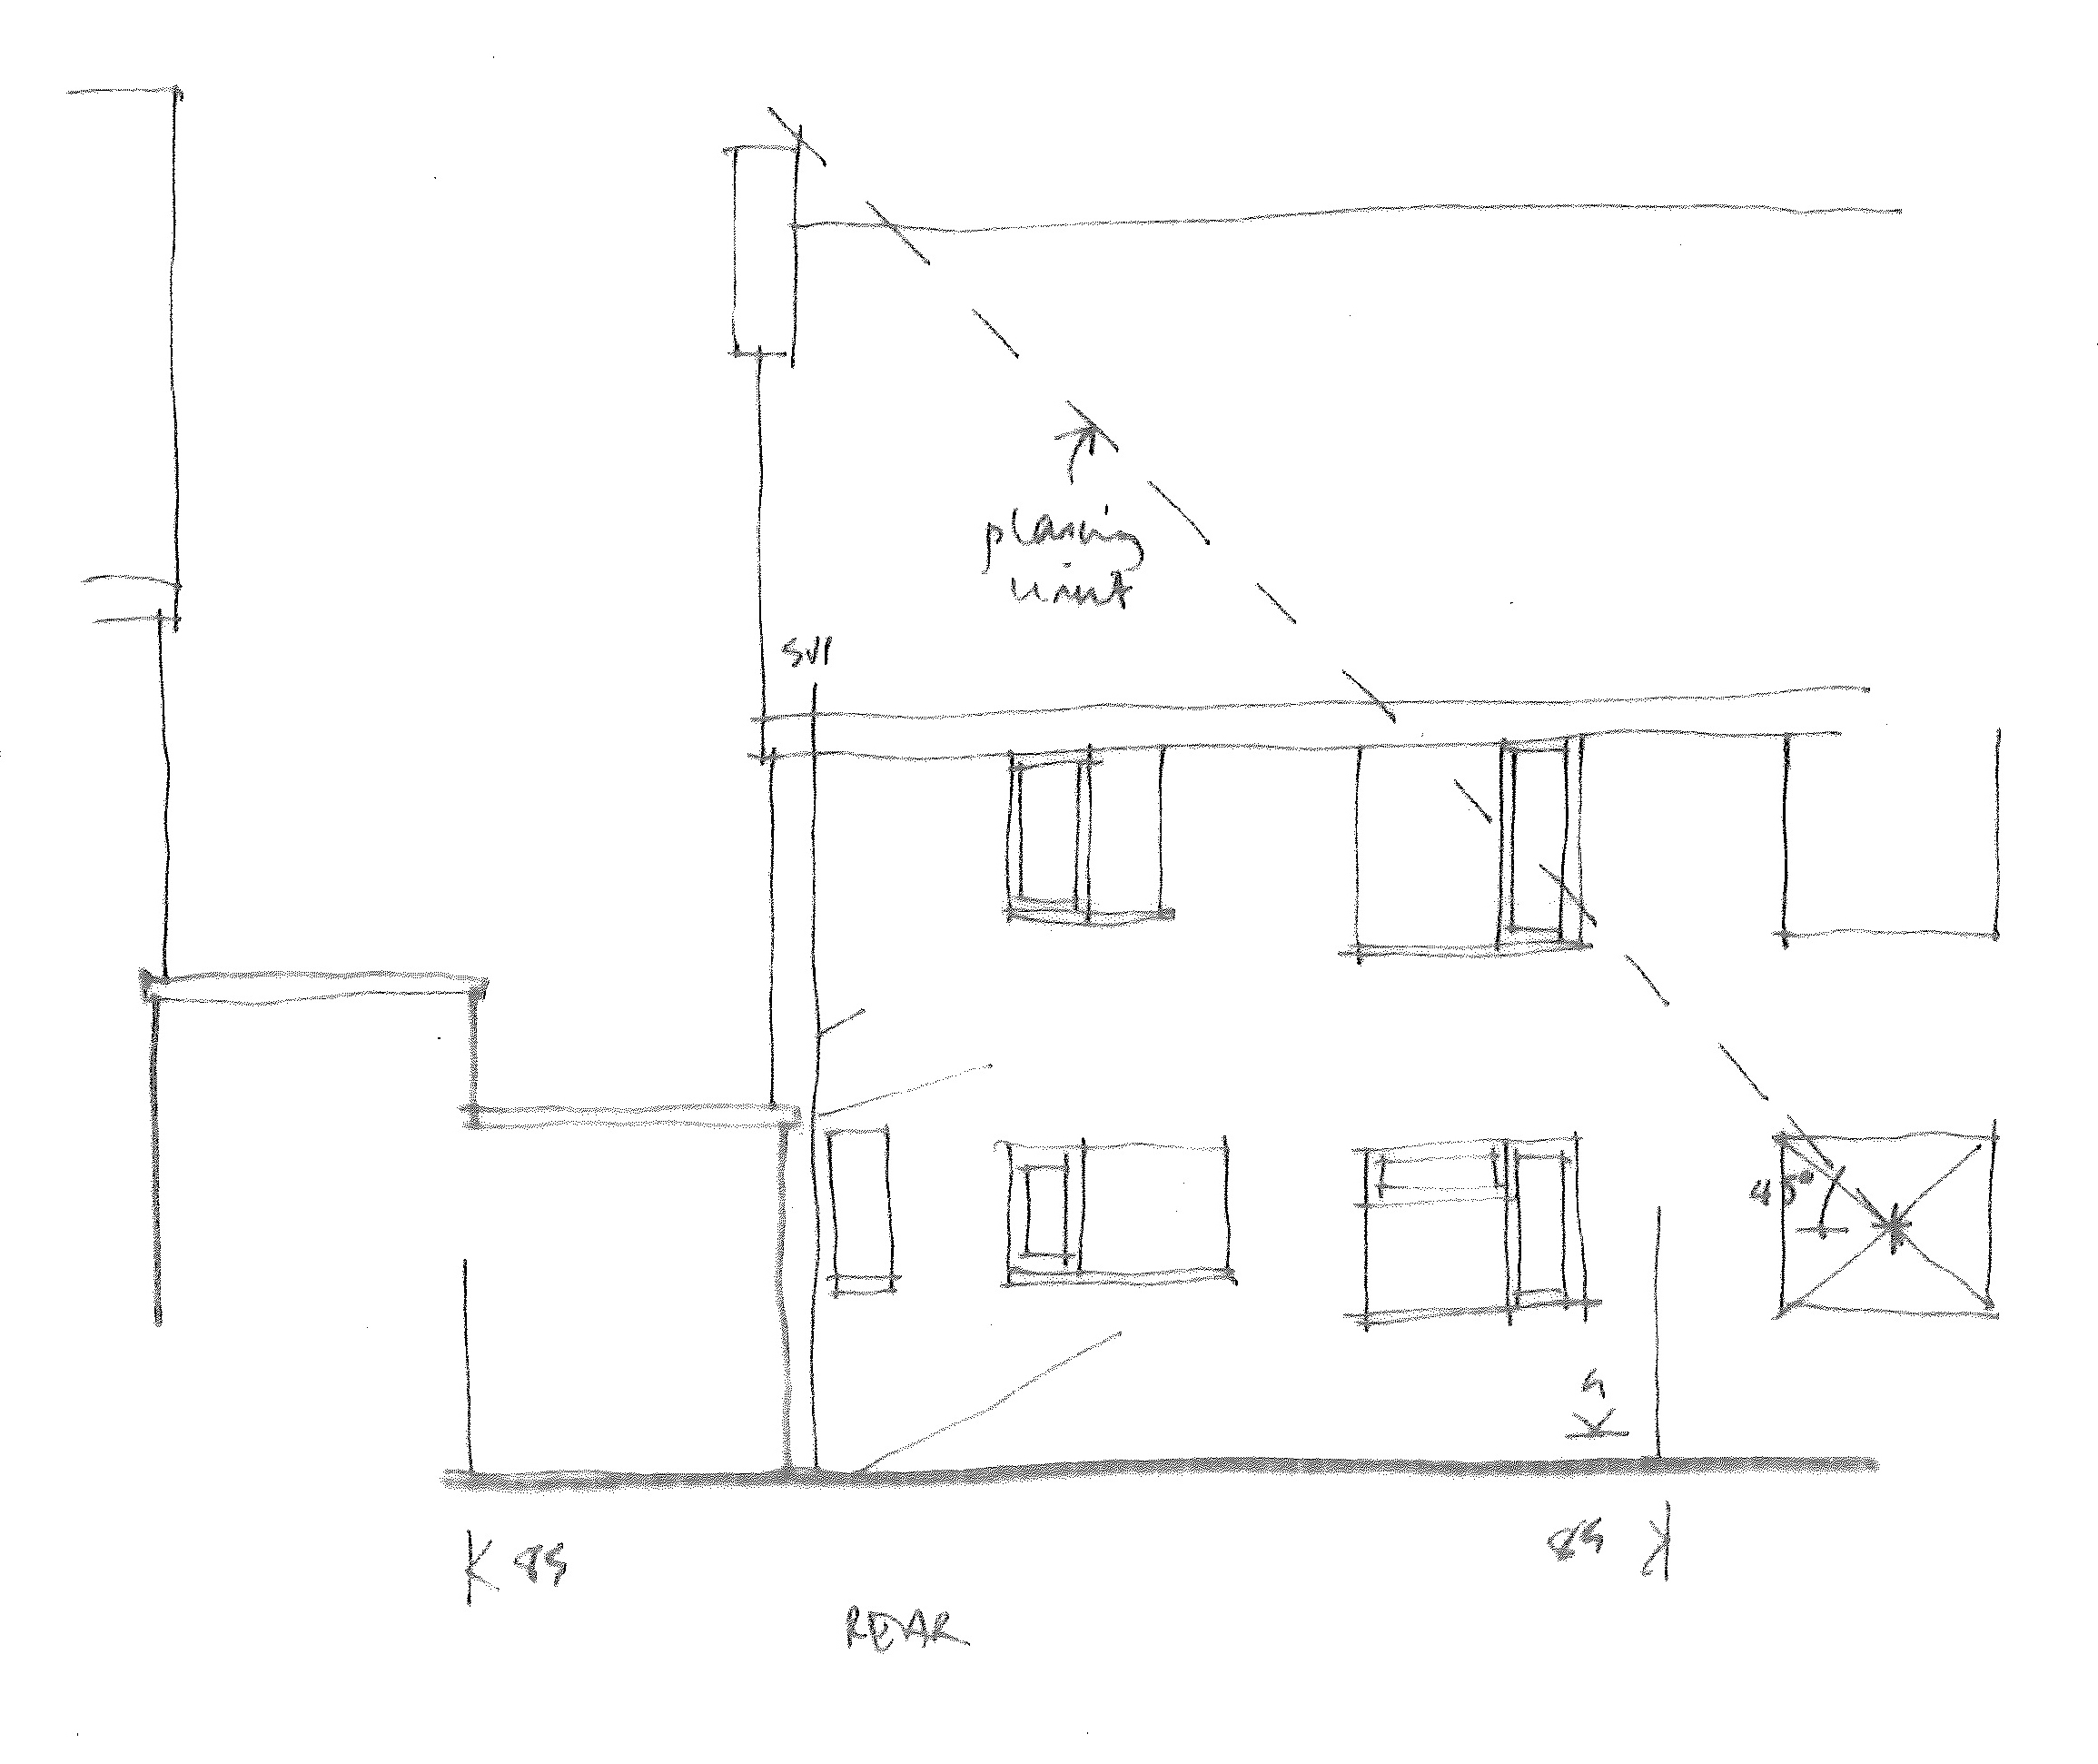
There were four sketches in total, with three different ideas for the extension. The first idea was just a ground storey extension to the kitchen and dining room, next was the same as the first with the addition of a small extension to the bath room and the third and favourite idea is the ground floor extension with the fully extended bathroom.

The plans aren’t perfect just yet, but this is a definite step closer to the extension we want to achieve and seeing it on paper, rather than just our mind’s eye, is exciting.


The study

IMG_8547

Filling in

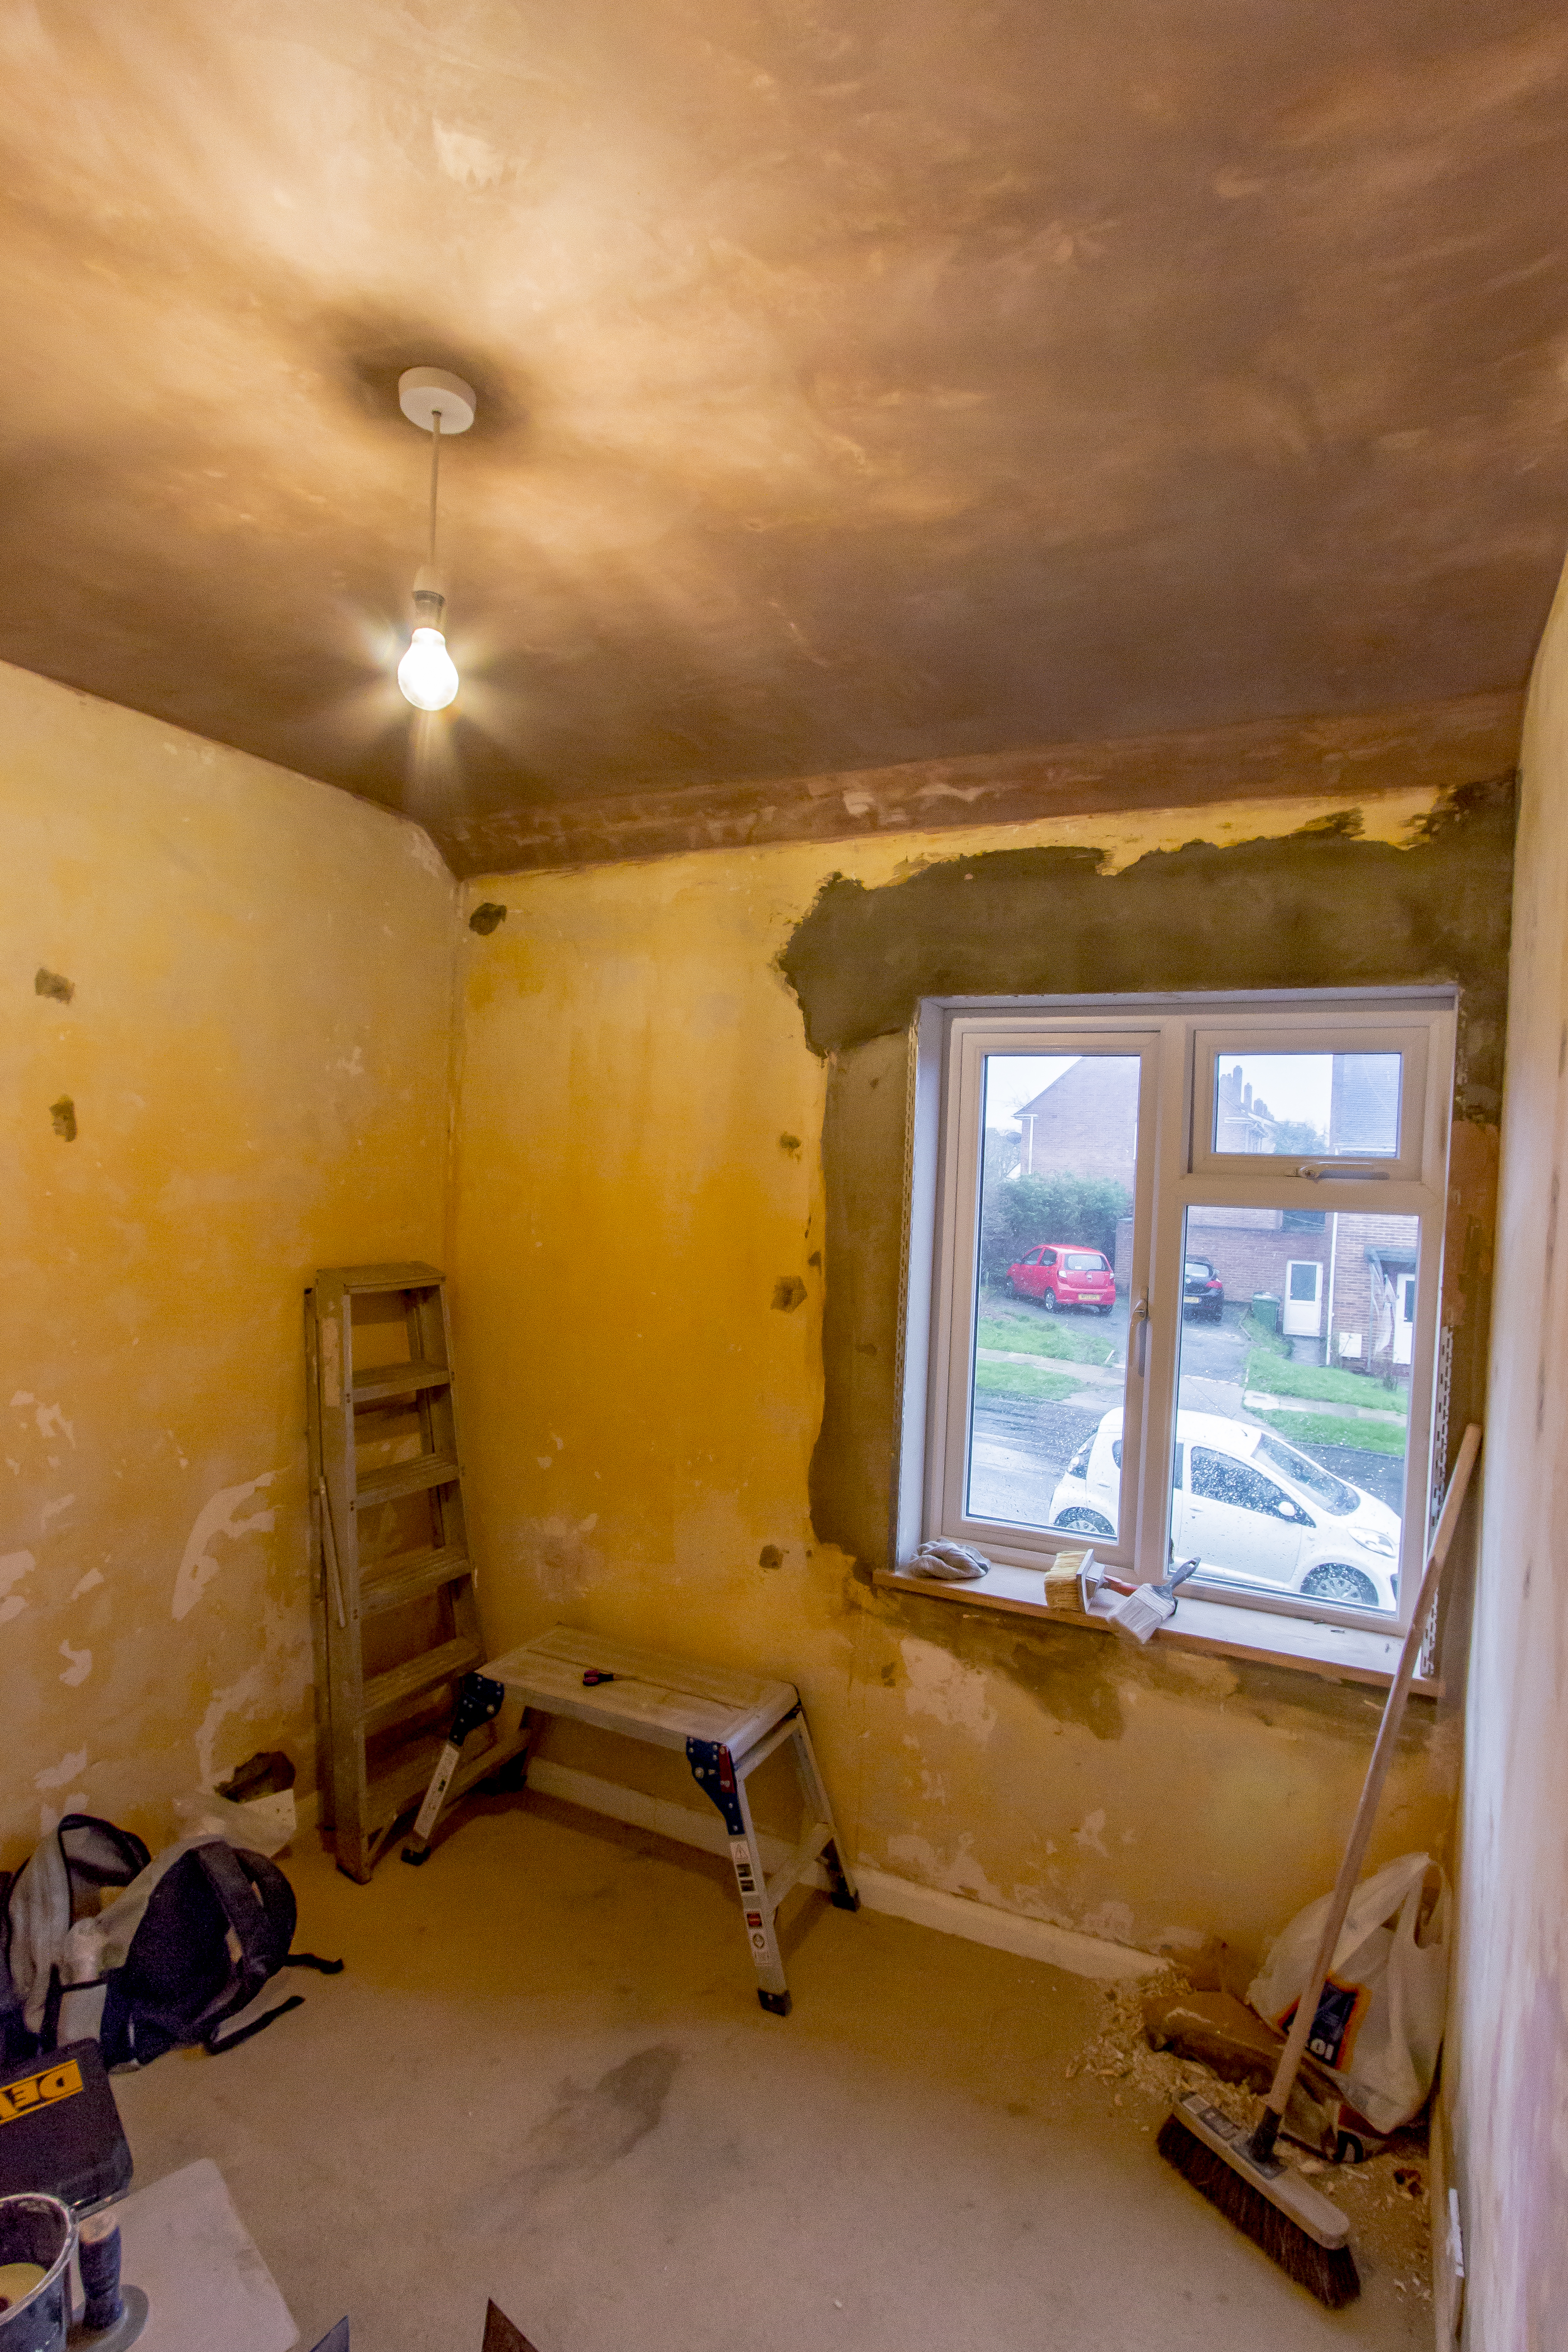
Since before Christmas we’ve been back working on the box room/study again which had been left stripped bare of wallpaper for months up until this point. We bit the bullet and finally hired a plasterer who not only skimmed the walls and ceiling for us but also filled in hole and removed the unsightly vent for us too. As with almost everything in this house, there were some unforetold expenses and delays, in the form of having to have the artex checked for asbestos and the builder not doing a very good job holding the plasterboard in place around the window.

Paul and I bought some masks and goggles and took samples from artex in different rooms and had it sent off for testing for asbestos. This only delayed us for 3 or 4 days and the tests came back clear form any traces of asbestos and we gave Teo, the plasterer, the go ahead.

The issue with the unstable plaster board again only delayed the process another couple of days and Teo took care of it for us and secured it for no extra charge.

The plastering was finished on the 30th December and we didn’t touch it for a couple of weeks and allowed it to dry whist we decided how to proceed.

I’d been reading up on what should be done before painting on top of bare plaster and trawled through forums and asked friends. I’d heard lots of things about PVA and sanding down plaster, both of which is unnecessary in our case. We were left with two options, a mist coat (using watered down emulsion on the bare plaster) or just buying a bare plaster paint – which is what I decided on after reading up on each of these.

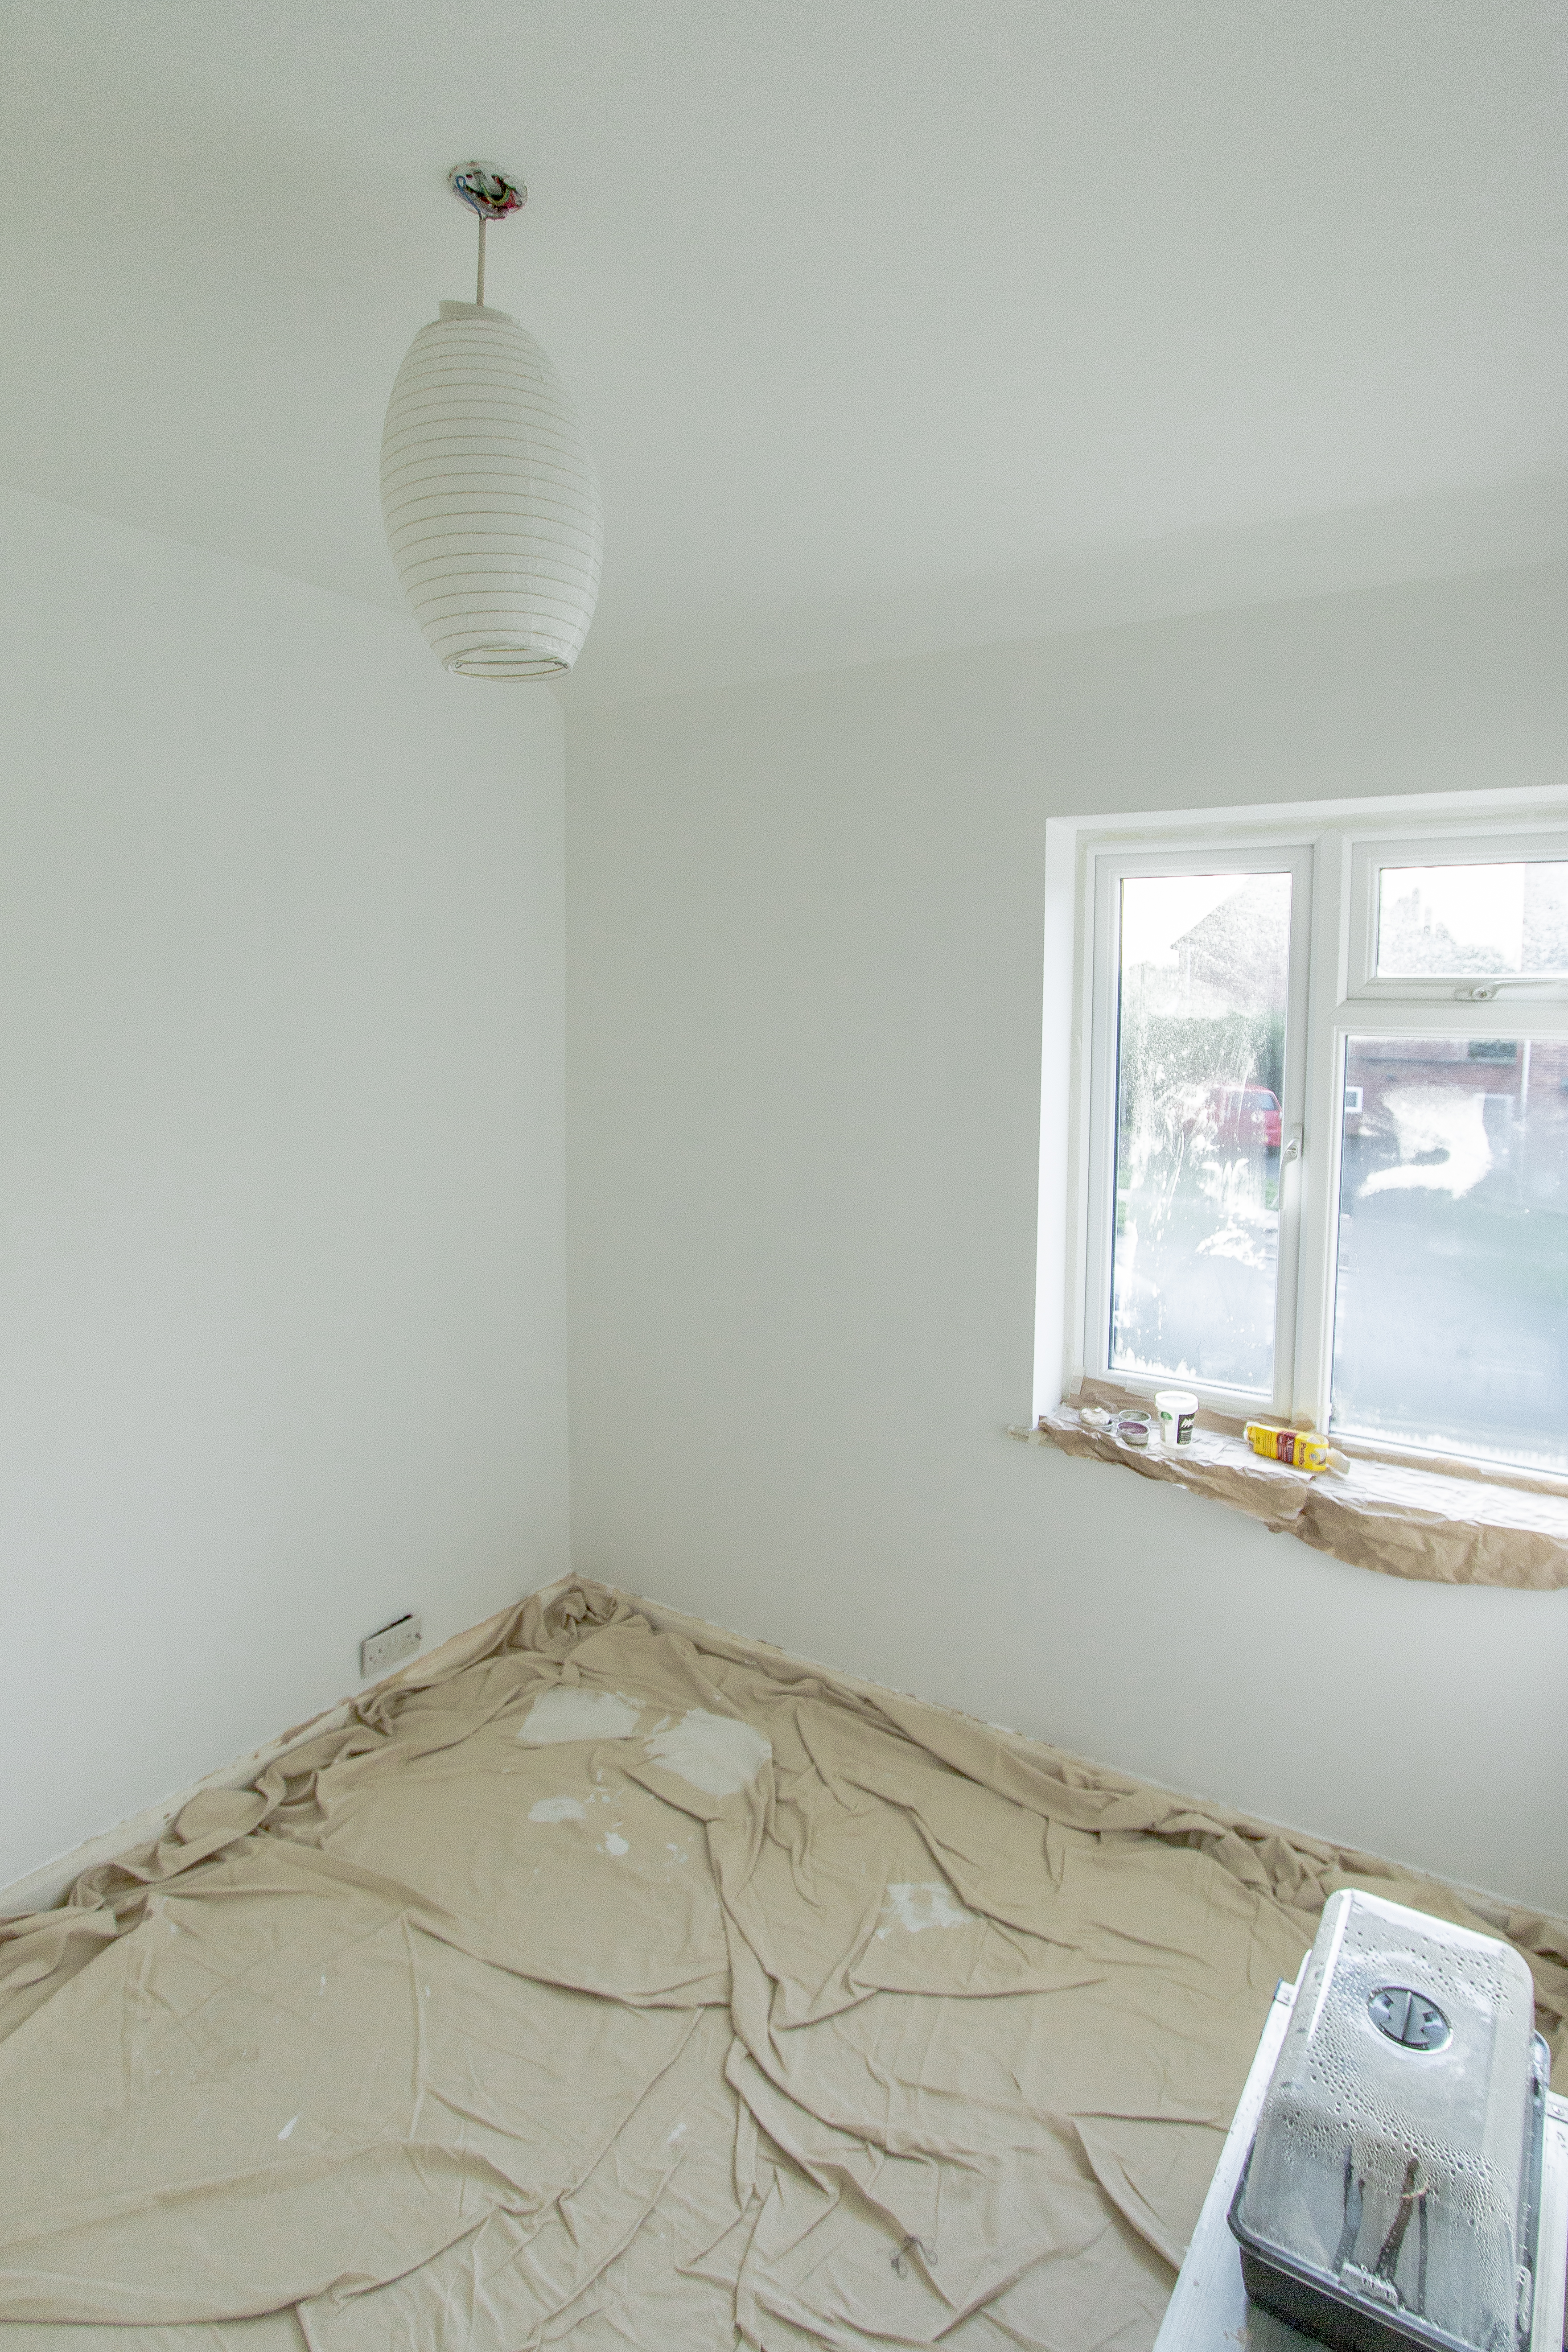
We finished the last coat of plaster paint yesterday and I’m pleased with how it’s turned out:

IMG_8725

I used the No Nonsense Bare Plaster Paint which was £21 for 10L which covers between 100-120m2. It took two coats of this for it to have a decent cover but now the walls are all ready for painting and/or wallpapering.

We’ve been argu- debating about decor a lot recently – specifically wallpaper. Though I think we may have found one to agree on, it’s the price that’s bothering Paul more than anything. I intend to get some samples before I decide completely.

IMG_8728

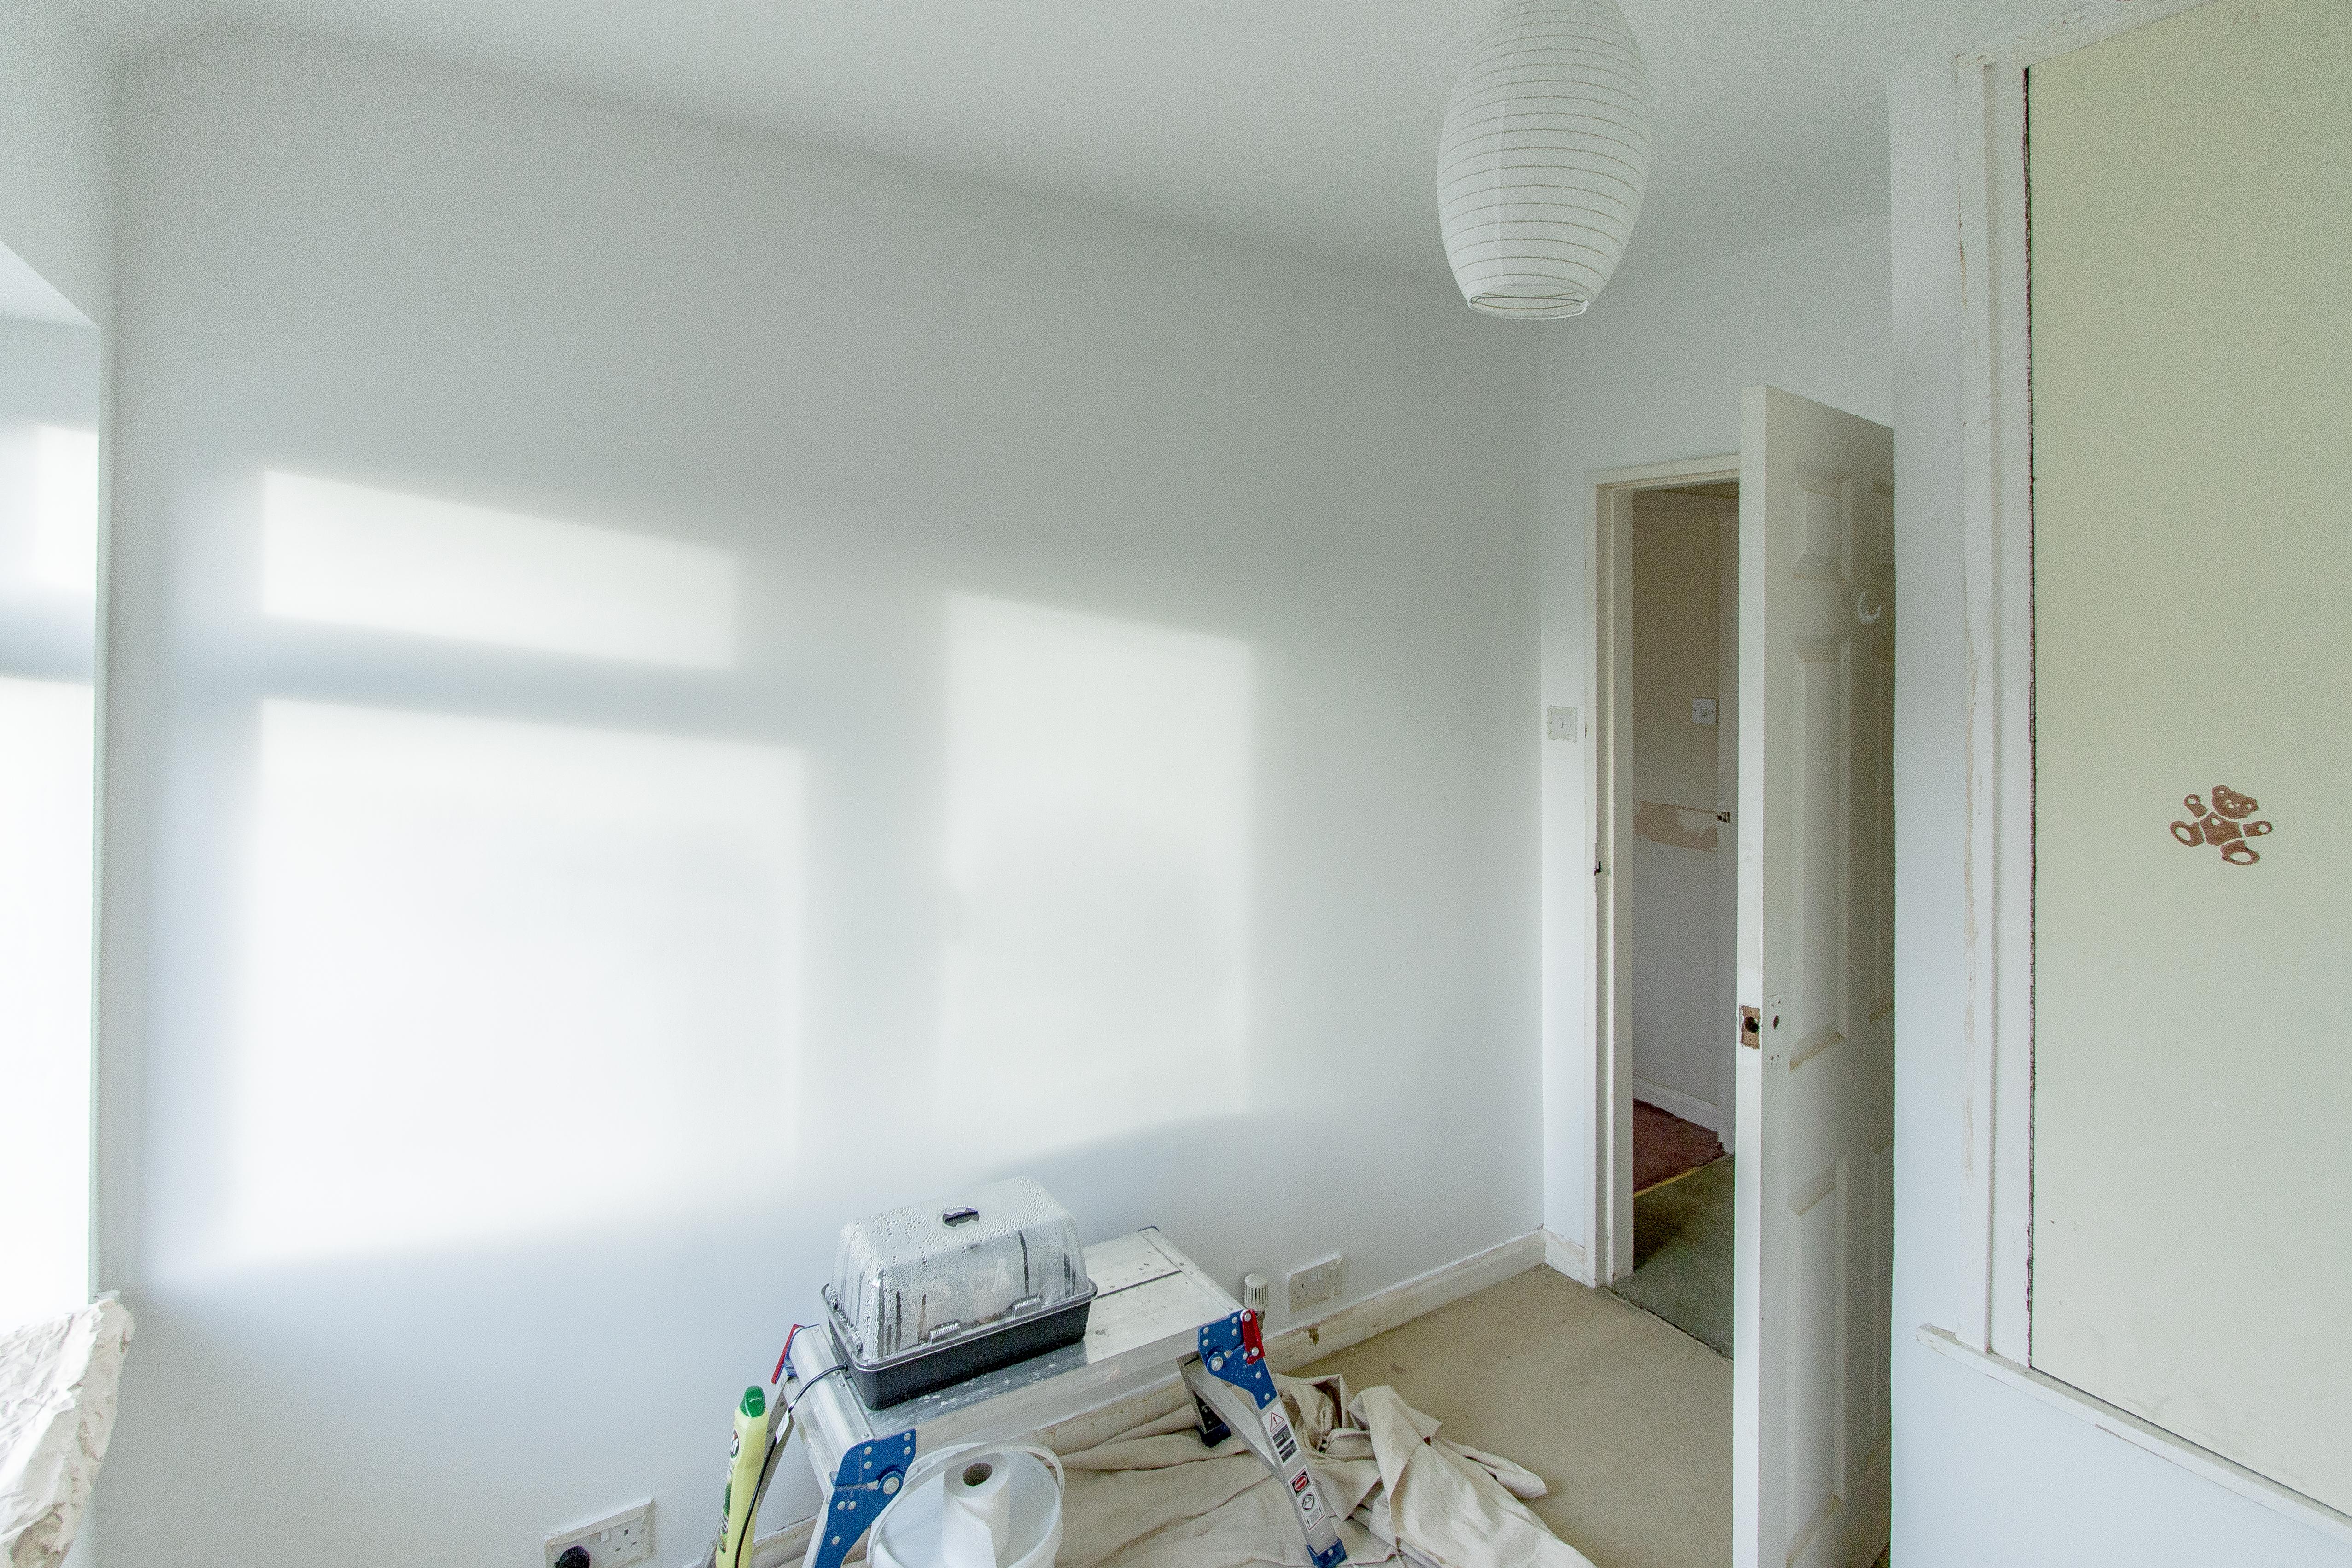
I also intend to replace the door and cupboard doors (those with keen eyes may have noticed the lack of door handle and latch – the old one was broken and we kept getting locked in the room if the wind blew the door closed, or if it was accidentally pushed).

This is not by any means the carpet we will be keeping either, we have reserved and will be paying for the carpet later on today. A friend at work recommended a little local carpet shop which we’d never considered (after I was moaning about what a tedious and expensive experience carpet shopping is). After visiting this local shop, we were offered a look at any offcuts which may be more useful and cheaper for such a room. We happened upon a roll of carpet labelled as faulty which would have been about the right size and was offered to us for £50 rather than the original £200. When Paul popped in the next day with exact measurements, he took a look at the roll and it transpired that there was nothing wrong with it, however the manager kindly offered it to us for the same price – which we have accepted.

We are now more determined than ever to get this room finished off, I’m hoping that it won’t take much longer for us to sand down and paint the skirting board, the door and cupboard frames and replace the doors as well as painting the room so we can get the carpet in, furniture in and start using this as a study before we start work on our bedroom.