The Making of the Sign

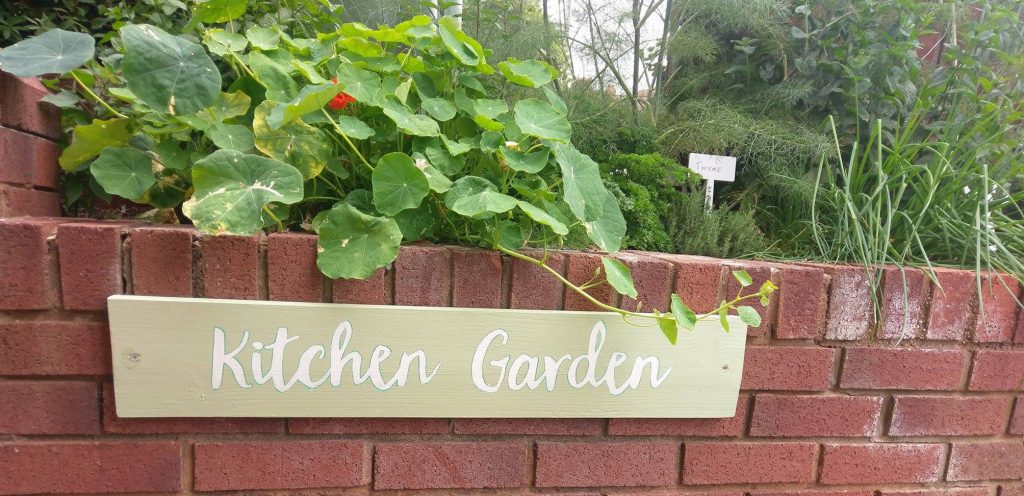
I made a sign for the garden, and this is how:

When we fixed the floorboards in the bathroom earlier this year, we had to buy new pieces of wood to replace some of the floor boards. We ended up keeping some of the off-cuts of the new pieces of wood and some of the nicer quality older pieces after my insistence (because I’m a bit of a hoarder but also because I knew I wanted to make a sign for our kitchen garden).

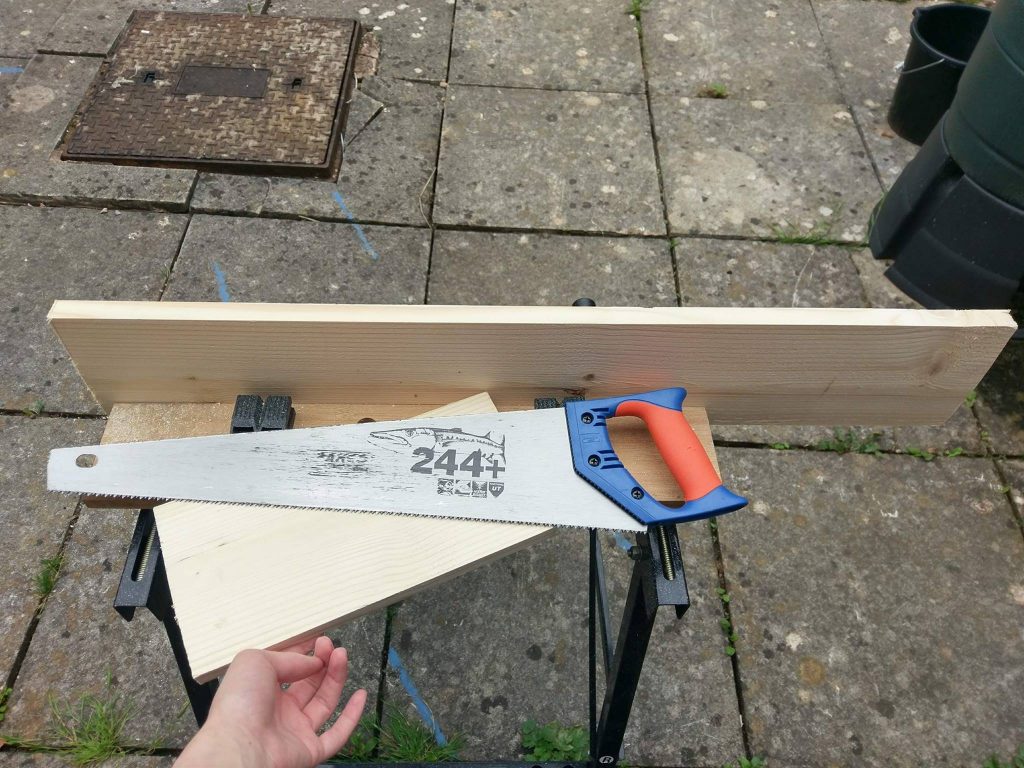
I found a font I thought would look nice and printed out the wording in the size that I wanted it and selected the floorboard that fitted the wording the best. I had to cut it down a bit.

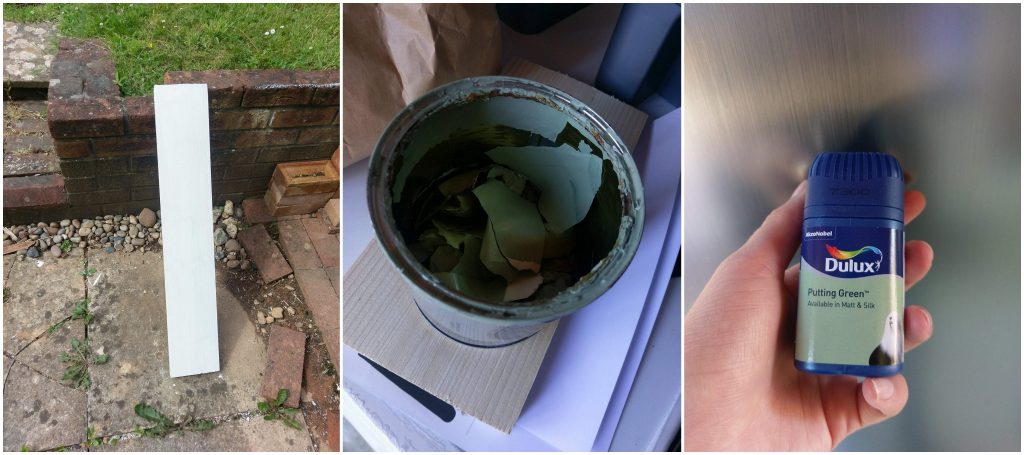
We have lots of left over paint in the shed so I coated the wood with one of the primers we had lurking around and let it dry in the sun.

I had intended to use some leftover green paint which, we’d used to decorate our old flat , to colour the floorboard as it was exactly the same colour as our new front door. However that plan was scuppered when I opened the tin. Never mind, instead I quickly nipped to B&Q and bought a tester pot in a similar colour. One tester was enough for one coat of the plank, it looked fine so I didn’t bother with a second.

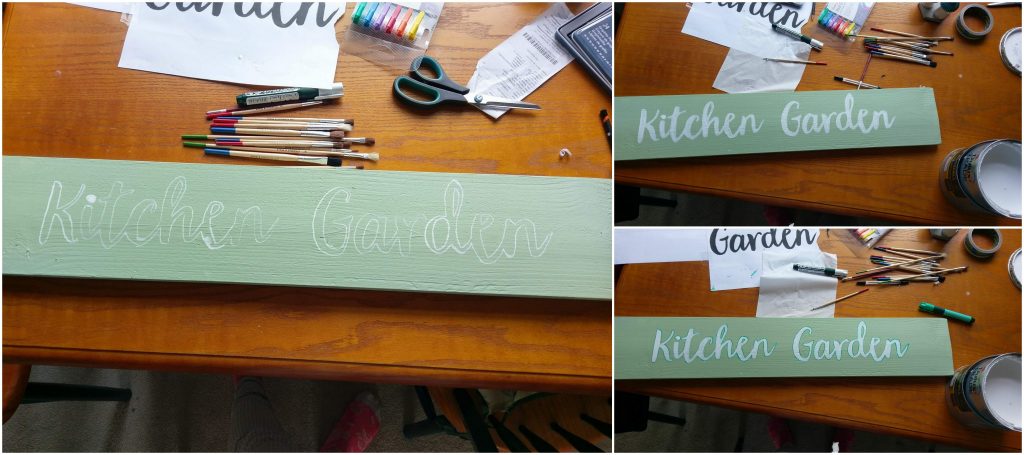
Next I used the print out of the text and I drew the outline of the letters on the back of the paper in a bold (7B) pencil and I placed the pages on the wood where I wanted the text to be. With the printed side facing up, I used a HB pencil to draw the outline of the letters  and transfer the graphite from the back of the page onto the wood.

I used a chalk pen to go over the outline of the pencil and enabling me to colour inside the line with some white paint we had left over from the woodwork in the bedroom.

I was quite happy at this stage and should have just left it here but I wanted a bold outline (which I now regret doing).  It did need a bit of a darker outline but I went for the wrong colour as it was the only green chalk pen we have. It’s fine though, I could have gone over it in another colour but I didn’t have anything more suitable.

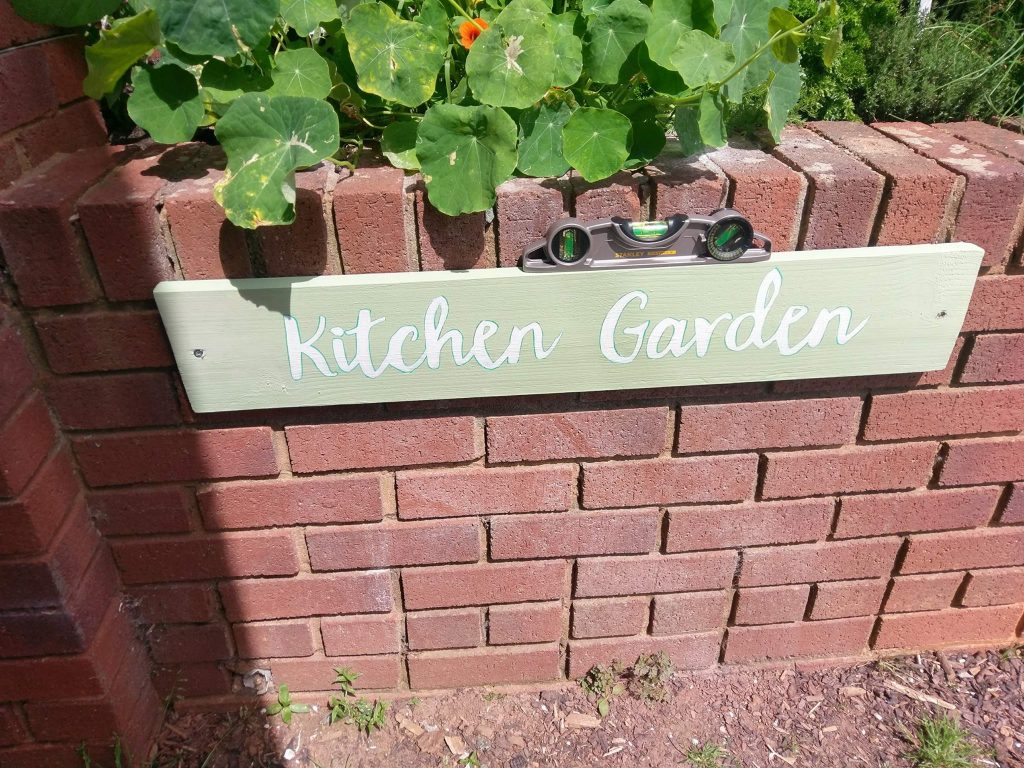
I coated it in two layers of wood treatment before I put it outside so it’s waterproof and I hung it up yesterday on the wall of the kitchen garden and I was pleased with myself because I even managed to hang it straight.

It spends a lot of it’s time being covered by the nasturtiums above it, becasue they have gone crazy, but that’s a good sign.

The Garden, Foraging and More

I haven’t updated in a long time and where better to begin a new post, than the garden?

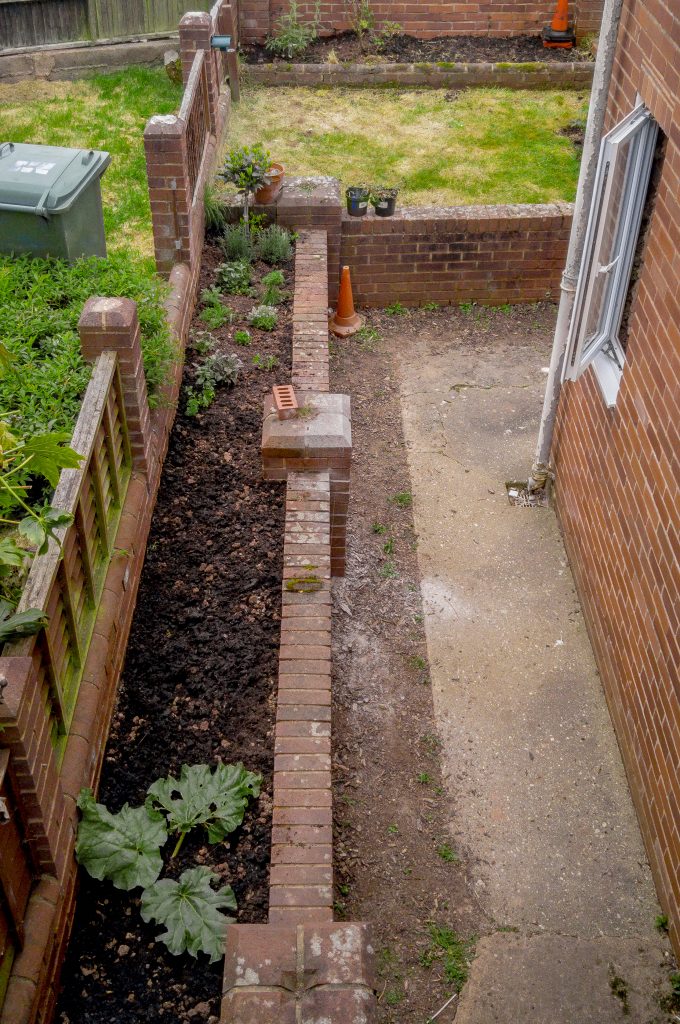
Not a lot has changed. We’ve filled up our ‘Kitchen Garden’ area now and I’ve make a little sign too (I will go into more detail in another post) and added a couple more decorative plants too.

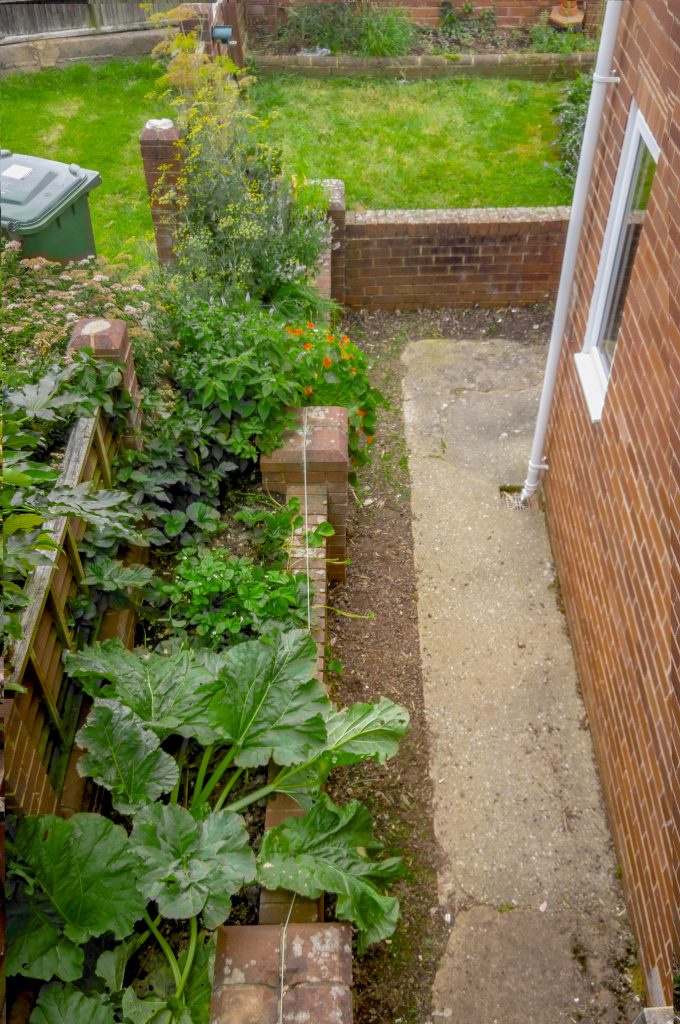
The rhubarb planted earlier in the year has now reached a sort of monstrous climax in its growing. I can’t wait to pick it, but I have to, because we need to leave it alone for at least a year to let the crown establish, or two years if we can control ourselves. Hopefully, then the rhubarb will last a long time and be really productive.

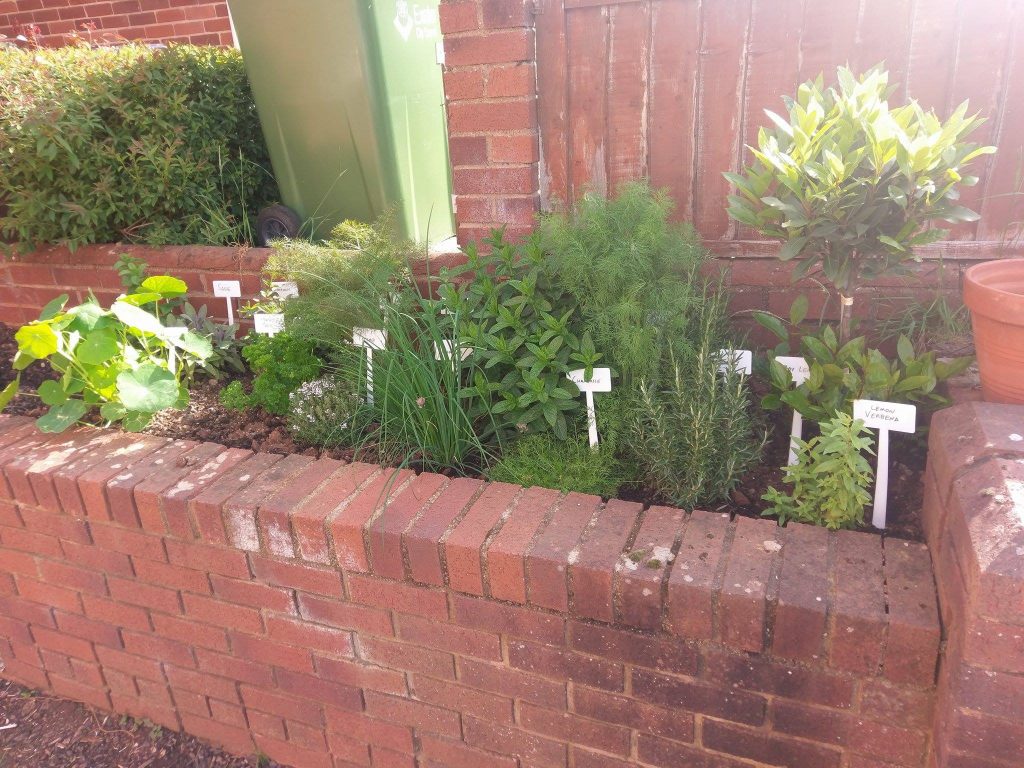
Kitchen Garden in early summer

It’s not just the rhubarb, the whole kitchen garden has started to grow wildly out of control. The dill and fennel are just being ridiculous and all of the mint is greedily occupying any space it can find.  The rosemary has started to surpass the rather slow growing bay tree and the lemon verbena is just starting to show off. All the while the sage has died under the suffocating presence of the nasturtium and the rambunctious pineapple sage which we planted more recently has flourished.

I find this often happens to me. I get seeds or small plants and micromanage their first few months and once they start to establish I tend to leave them alone, then one day I’ll walk out of my door into a jungle.

Well, apart from my deceased sage plant, the only thing that isn’t having a good time is the thyme. It’s been a bit slow in growing and now it’s got hardly any light, not dead though, so that’s a plus.

We’ve planted some thorn-less blackberry plants and three new kinds of strawberries between the rhubarb and the herbs, and they’re all doing quite well.

I also have two rather nice pineberry plants out the back. Frustratingly I thought they’d died when I was growing them from seed, so I just tipped out the plant onto a patch that had been dug up and saved the pot. However a couple weeks later I noticed new growth on the plant and decided to put some compost around the roots. It’s done exceedingly well and I’ve had quite a few (albeit very teeny) pineberries, and they’re very tasty. I’ve been waiting for it to send out little creepers like the rest of my strawberries so I could pot it and move it into the kitchen garden. Alas, it has decided not to send any out. I’ll just have to order some seeds again in the new year.

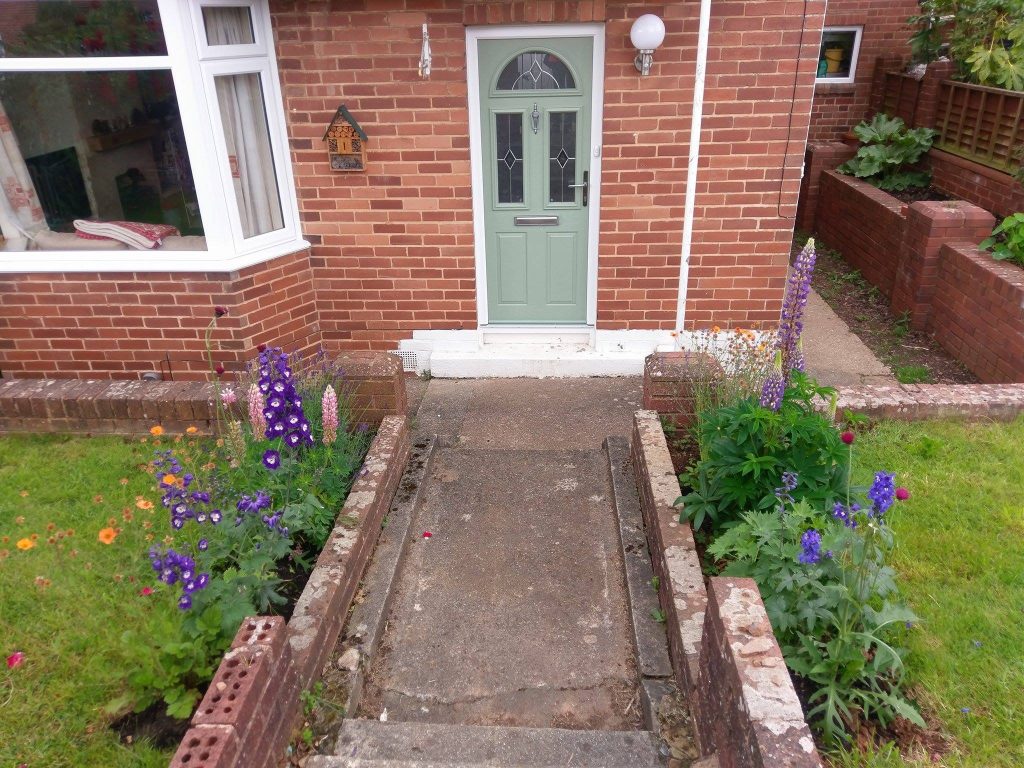
Lupins, Geums, Delphiniums, Thistles, Lavender and our NEW(ish) DOOR (and windows)!  Early Summer

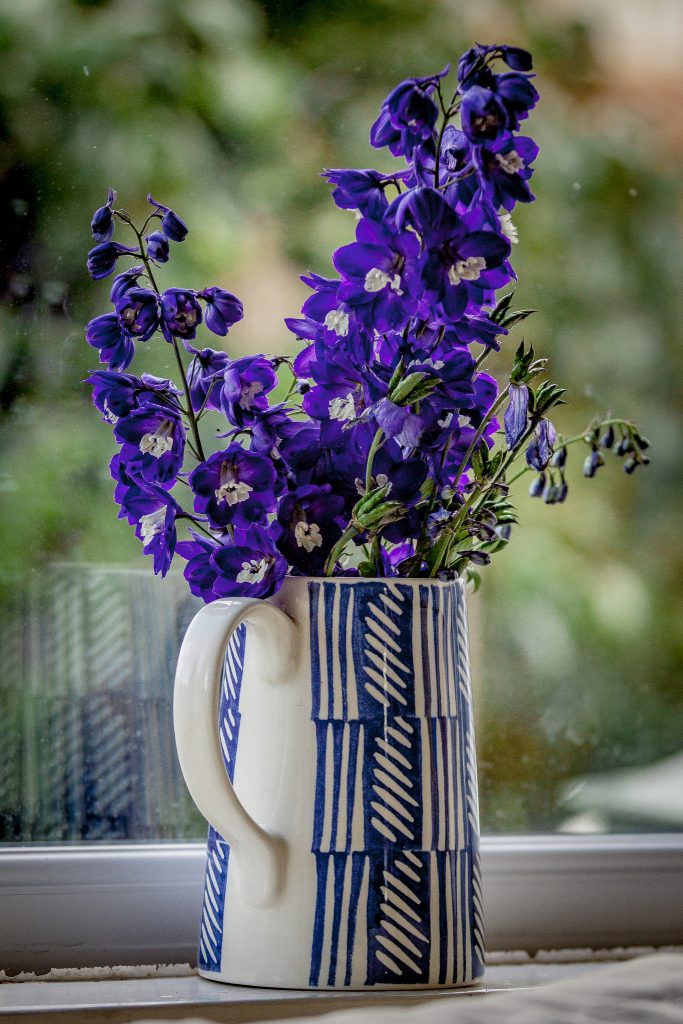
The weather has been a bit challenging for the other plants in my garden. The delphiniums were just snapped in half with the strong winds earlier in the year. The broken bits made it into a jug and lived for about a week in the house, which was nice. They grew back again, and I cut them back once they died and they came back again but haven’t really flowed as nicely.

The lupins have had an aphid problem this year (as did the nasturtium ). They put on a spectacular show at the beginning of the year though.  I have also added some ‘Totally Tangerine’ geums which set off the purple plants nicely, as well as a couple of violent magenta thistles which the bees love. Another new addition is the buddleja in ‘black knight’ in the front garden.  We’re hoping it’s going to grow well behind a wall and to block out the neighbours a little bit as well as attract a lot of butterflies.

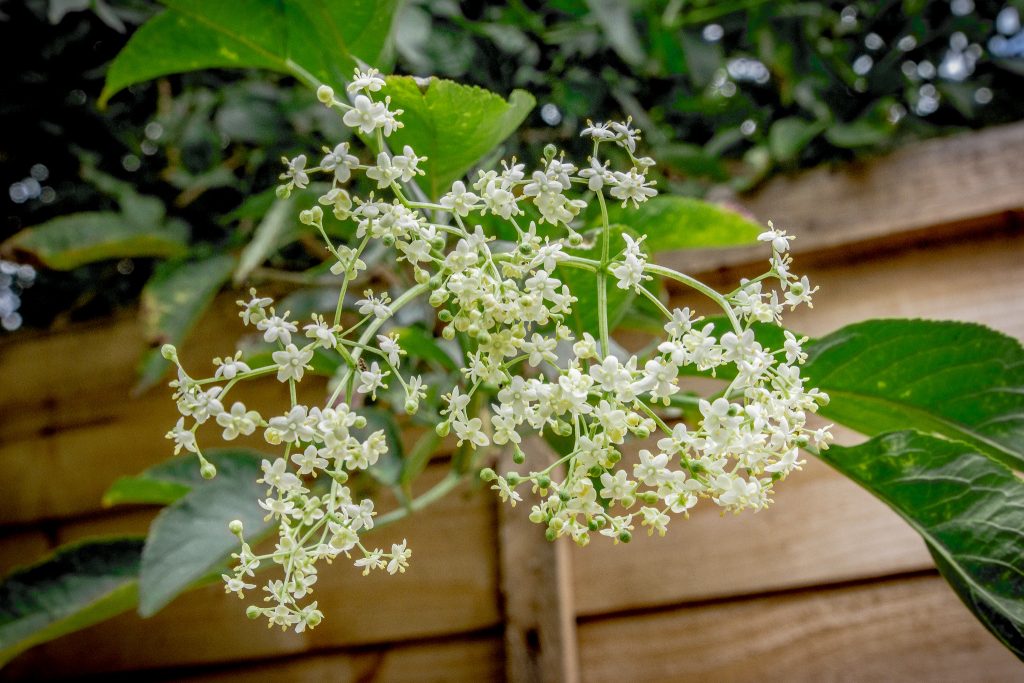
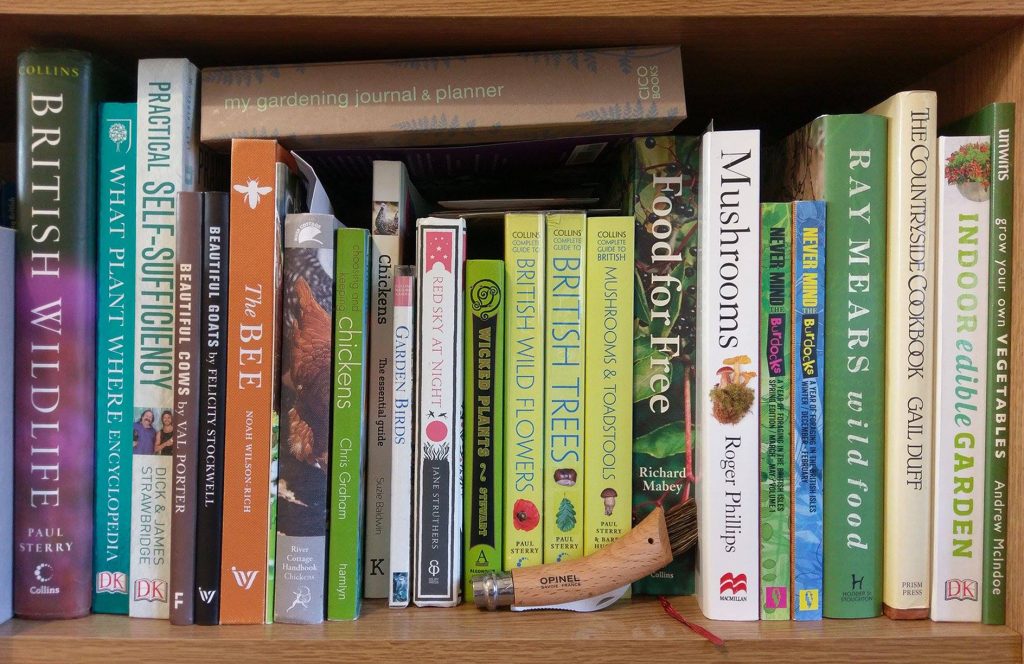
Last weekend, we were excited to discover that a tree that overhangs into our garden is, in fact, Elder. I have to admit that I’ve never paid much attention to the creamy umbels before nor the black berries on it. Paul happened to notice them as we were cutting the grass recently and got just a little bit excited and marched outside with a couple of our plant books and a camera, and I picked off a leaf and used my ‘British Trees’ app to identify it.

Paul in particular is now excited thinking about all the things we could make: Elder-flower cordial,  elderberry and apple pie and the list goes on…

We both really enjoy foraging, or maybe the thought of foraging? As we very rarely do it, although we do have some literature on the subject.

We recently (in July) had a week long stay in Cornwall on holiday and a couple of weeks before we went, we saw The Lost Gardens of Heligan were hosting a foraging event ‘Wild Food Wild Walk; with Emma Gunn’ (from Never Mind the Burdocks) . The event was £20 each but also included entrance to the gardens which is ordinarily £14.50 each anyway. We booked it in advance, afraid that it would be overrun with people trying to go last minute, but we were in for a treat.

Garlic mustard pesto and pickled wild garlic seed pods with Honeysuckle cordial

We got there on the day only to discover it was just Paul and I on the tour with Emma.  It was a fantastic day, the tour lasted around 2 hours and at the end Emma brought out some food she’d made from foraged plants. There was gluten free Hogweed seed, cherry and almond cake, garlic mustard pesto and  pickled unripe Ramson seed pods as well as a honeysuckle cordial, all of it was delicious but in particular the wild garlic seed pods and the cordial. Unfortunately we were so preoccupied with stuffing our faces with cake, we didn’t get a picture.

We also made sure to buy both of her books in the Heligan gift shop before we left and eagerly await the next.

Some of things we ate include: Unripened Hazelnuts (which I actually prefer over ripe ones); Bamboo shoots; Day Lilies; Nettles; Hogweed seed; Navelwort; Primrose leaf; Garlic Mustard; Comfrey; Nectar of Fuchsias; Mallow flower; and Sorrel leaves. There were many other too but I can’t remember the names of a lot of them off the top of my head.

I’n the future I think we both want to have the confidence to experiment a little with foraged foods (whether from the garden or further afield). In particular, Paul is eager to learn to make different cordials – so that’s always a good place to start.

Transformation: The Master Bedroom

When we thought back to the start of the decorating process for the bedroom, we realised that it had actually taken us a year, from start to finish. We’ve been sleeping in the back bedroom during this period, which is smaller and quite cramped. So it makes moving back into the main bedroom feel like it’s a lot bigger!

The thought depressed us a bit, as throughout the process we seemed to be constantly chasing people up, doing our bit relatively quickly then chasing even more people up. I think in the future we’re going to have to learn to stop chasing people and just find someone who actually wants the work (alternatively we could just try and do it all ourselves, save the electrical, to speed up the process).

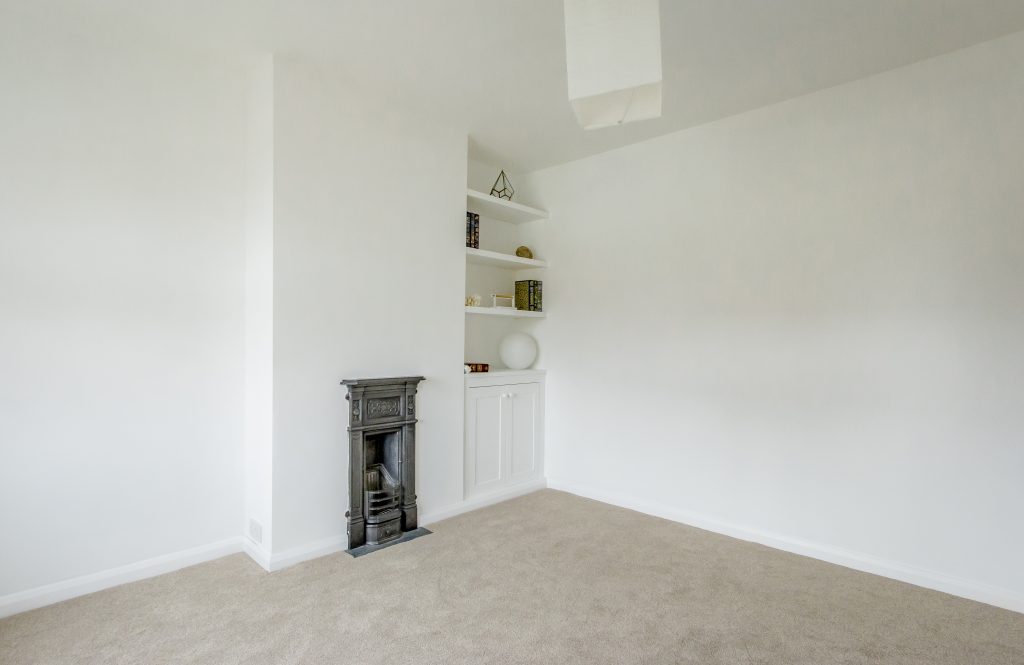
Yet, through all of the problems we’ve had, we’ve managed to complete another room and I’m pretty pleased with the results:


Long before we began any decorating, we hired an electrician to install some more sockets in the room, as we only had one near the door to begin with. The new ones we put in were supposed to be positioned for the bed, but we changed the layout in the end, so it was a bit of a waste. A replacement radiator was also put in as when we went on holiday we came back to a big leak in that room. We also had the window replaced not long after we’d moved into the house.  We had the issue, as we’ve had with all windows in our house, that it left the cavity exposed and we had a builder bolster our the plaster and put in some plasterboard to cover the gap. The end result looks good.

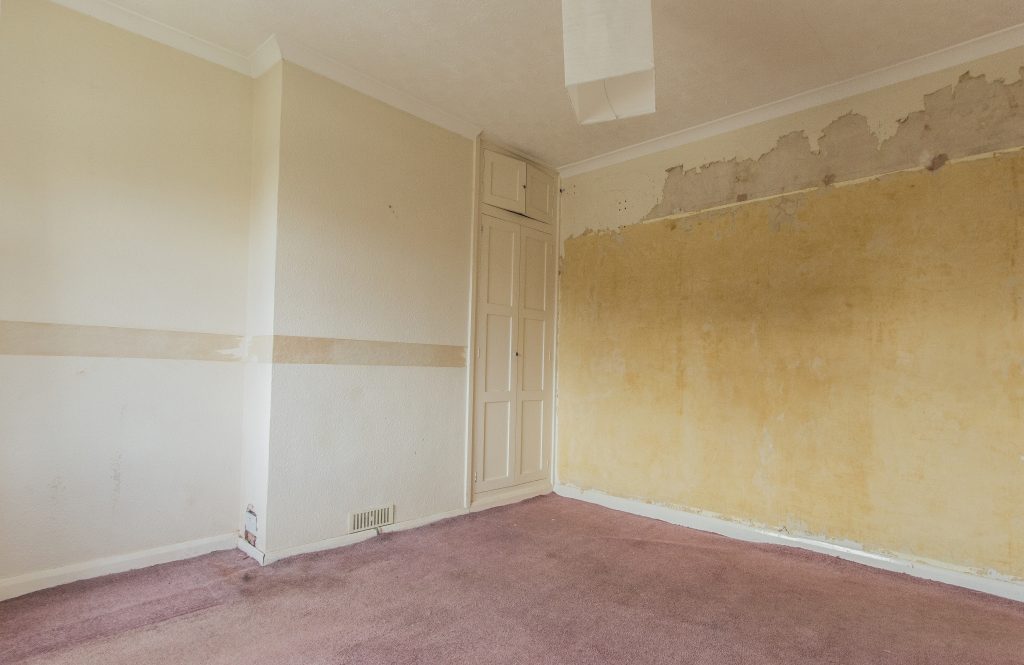
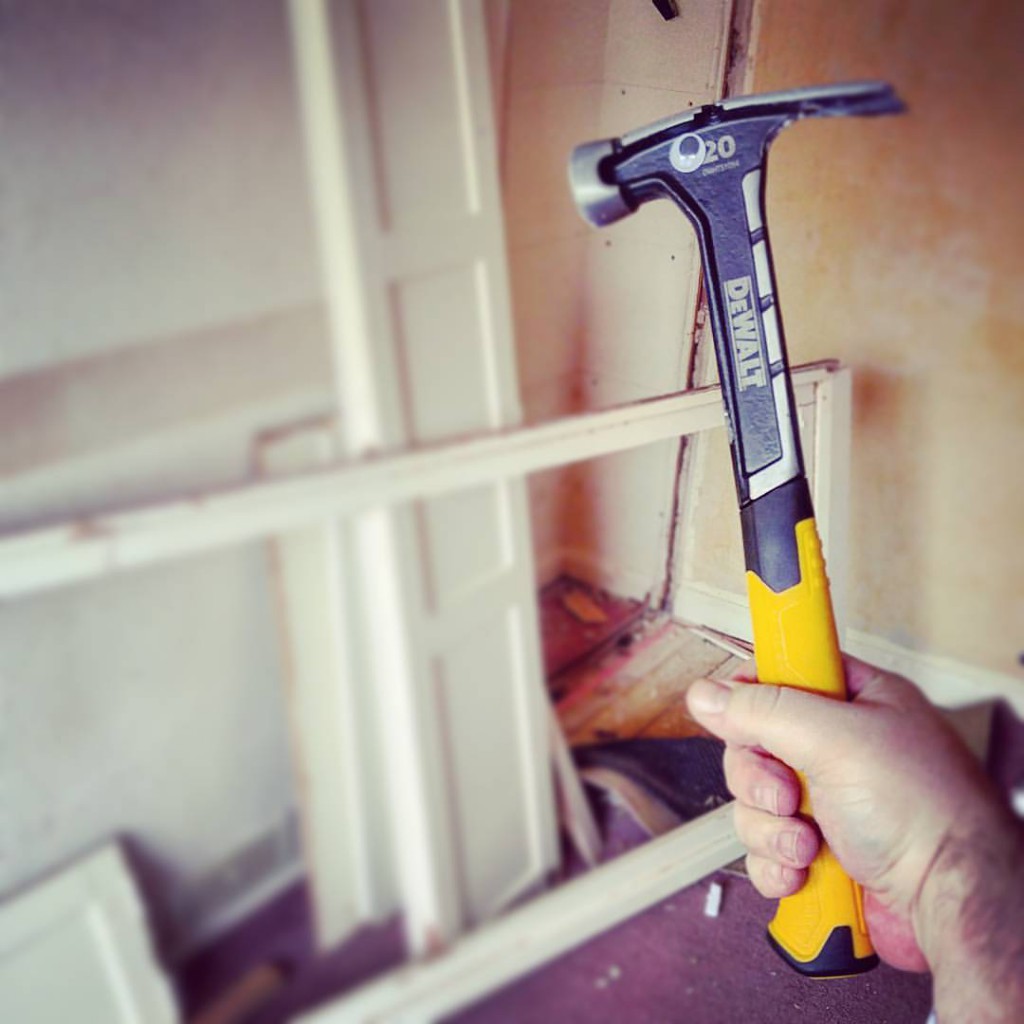
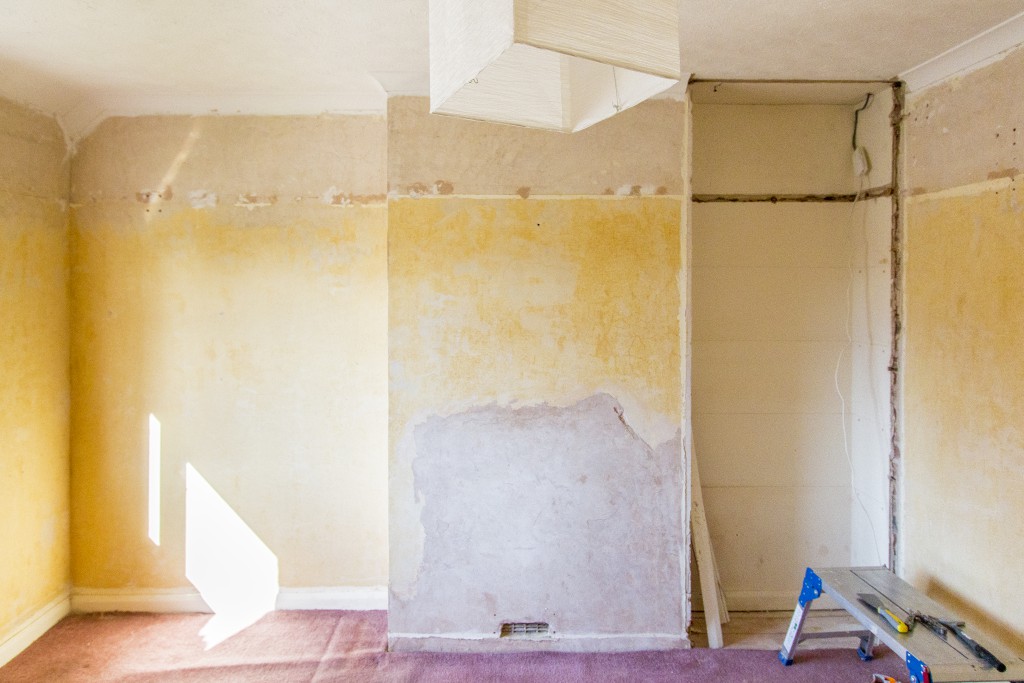
Next we stripped off all of the old wallpaper which was surprisingly (and suspiciously) easy to do in this room, when it came off in big chunks. Then Paul had fun ripping out the built in wardrobe.
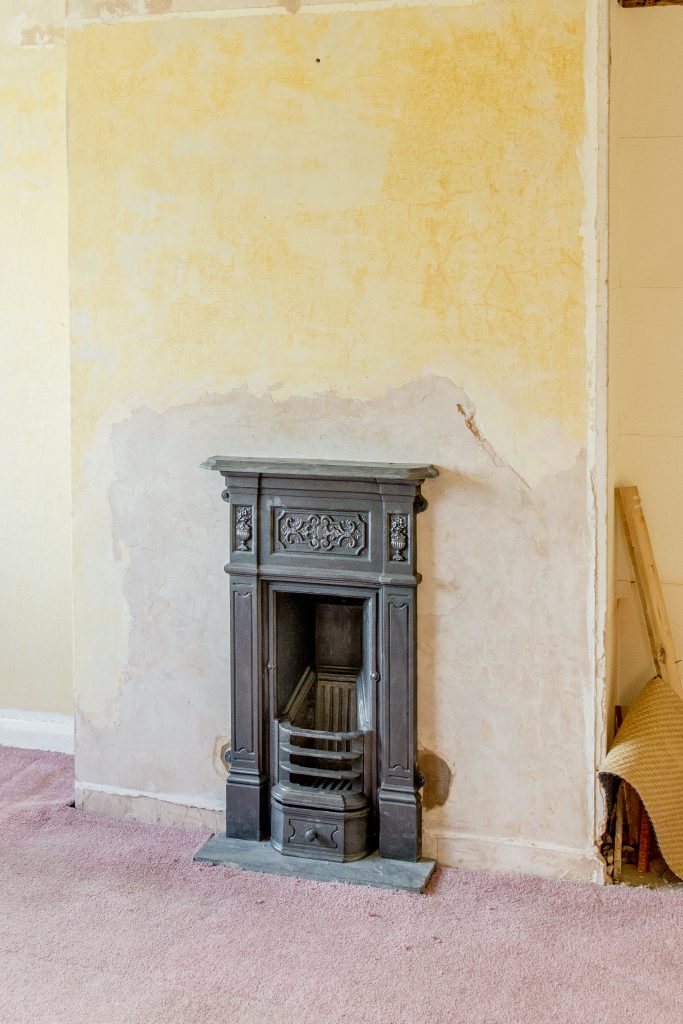
As we took the wallpaper off, we discovered that there used to be a fireplace in our room, so I changed the plans and delayed things further by deciding that it would be nice to put one back in.
We used a local company, who we’ve used for a few jobs around the house to put in the fireplace. We reduced costs by buying a second hand, replica Victorian fireplace from a vintage furniture shop for around £50 including an old bit of slate for a hearth.
We hired a new plasterer, as the one we used previously wasn’t responding to any calls or texts from us. The new plasterer was more expensive but in fairness, I felt he did a bit of a better job too.

We’ve decided to paint the walls white, because Paul has some sort of aversion to colour. I agreed as long as I’m allowed to accessorise with colour instead, this has yet to happen, as we’ve run out of our home improvement fund at the moment and want to save up again. But we’re looking for bits and pieces.

We had some shelves and a cupboard put into the alcove where the wardrobe was ripped from. And again, we used a different carpenter from before, because he also stopped replying to us. So it was carried out by the same company we used for the fireplace.
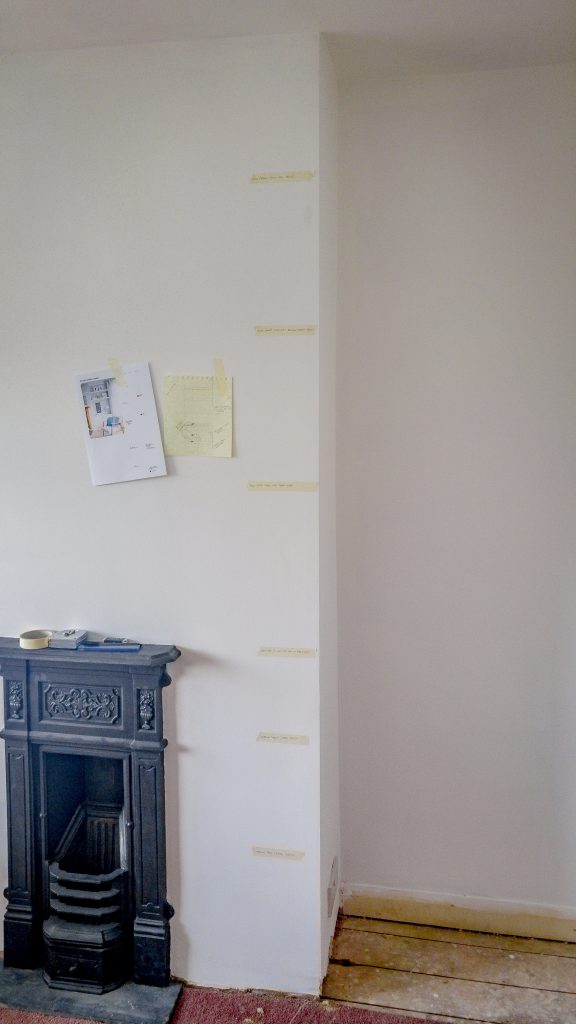
We weren’t sure how best to give the details to the carpenter, so we asked for specific gaps between the shelves by using masking tape, and left a picture from Pinterest, as reference

Once the shelf was built for us, which only took two days, we primed and painted it all, along with the skirting board. Finally seeing the shelving all done really felt like the room was coming together and like we were approaching the end.

On the 3rd May we finally had some thick, luxurious carpet put in, bought from the same local shop which gave us a good deal on the one we had put in the study. This time, we chose one of the most expensive, luxurious carpets and it was most definitely worth it. It was £29 per sq meter but we supplied our own underlay as I could get it discounted from work.
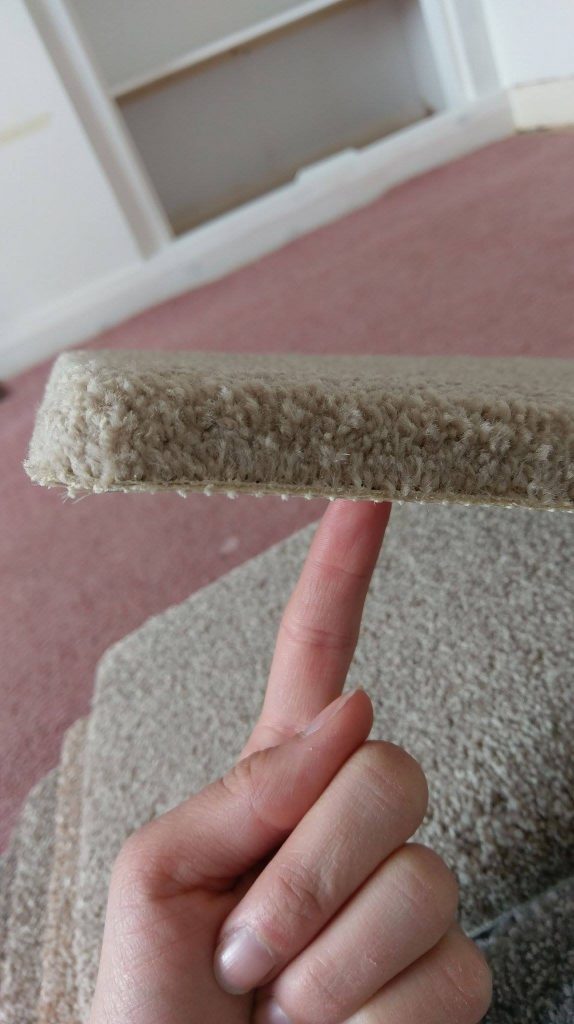
We were able to take the carpet samples home with us and were glad that we did as they looked lighter in our house than they did in the shop. We chose a shade called ‘shadow’ from a range called Merion Luxury by Lifestyle Floors. It is fantastically soft, and feels so nice under foot. Especially compared to the awfully thin carpet that used to be there.

You can really sink your fingers into it

In fact, when the carpet fitters came to actually replace the old carpet, we actually discovered that the thickness of just the new underlay was more than the old underlay and carpet put together, as the door now scraped across the top of it. That meant that we had to take the door off completely to get the new carpet in. And rather than just planing off a bit from that door, we had to saw a good chunk of it off the bottom, and try and put it back together again! Thankfully it worked and now opens nice and quietly.

We were all ready to move back in when we suddenly remembered that we didn’t have any curtains in there. So we had a couple companies come around and quote for fitting blinds, after several companies ignored our initial requests.

We think the moral from doing this room, is making sure that you get good workmen who actually respond to you. If they don’t reply, don’t waste your time with them.

One blinds company was significantly more expensive than the other, but even the cheaper one was more than twice the price of the exact same blinds online. So in the end, with our savings getting close to disappearing, we didn’t go with either and instead opted at fit them ourselves.

We ordered the ‘Great white’ range from Web-blinds, after I ordered a few free samples from them to begin with. One arrived very dented and I was not particularly happy about it but having it replaced would have delayed our moving back into the bedroom, so we just went ahead and fitted it anyway. It was relatively easy, and for the amount of money we saved, definitely worth it.

I emailed Web-blinds about the dent and asked if we had any issues with it, would they be able to replace it, and they were absolutely brilliant. They said to fit it for now, and they would send a new one without needing the old one to be sent back. They suggested donating the dented one to a charity shop or giving it away to someone who would use it. And the replacement blind arrived within a week and was in perfect condition.

After measuring the back bedroom window, we’ve decided that its roughly the same size as the front bedroom (another benefit of council houses) and that we should be able to use the dented one there instead, preserving a bit of our savings. The valance covers the dent mostly, but you can still see it when you’re stood beside the window, but we can live with it. I’m really happy with the blinds though and they do look good, though we do also need to invest in some curtains too, in the future. The rooms is still a bit echo-y without much in it at the moment, but hopefully that will change as start to fill it out.

We also finally fitted a set of blinds in the study too, which are exactly the same as the ones in the bedroom and were ordered at the same time. And whilst we were at it, we also put up a framed picture that my parents got me for my birthday last month.
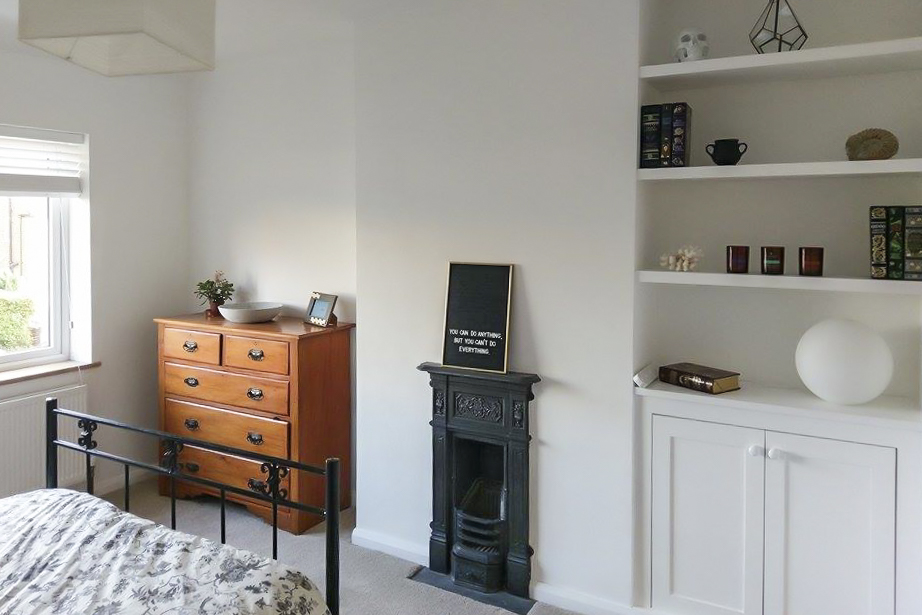
New blinds, new picture

A post shared by Kate Best (@caddiebest) on