I may have mentioned in a previous update that I planned on doing some improvements to the bathroom in order to be able to live with it for longer – as our extension will not be happening now for some time.
The old suite was all in grey paired with this awful orange-y wooden toilet seat and bath panel. In fact the original wooden toilet seat, when we moved it was so horrible we immediately threw it out. Paul replaced it on our first day in without letting me even looking at it, as he thought I might put off from going in the bathroom ever again! But even with that fixed, it was depressing to look at and with the grey floral tiles covering every wall, the room really just wasn’t cutting it. Oh, and did I mention the crusty grey carpet that was actually thinner that the vinyl we put down? With my medical condition, I actually spend more time than most in the bathroom so I have to look at it all quite a lot.
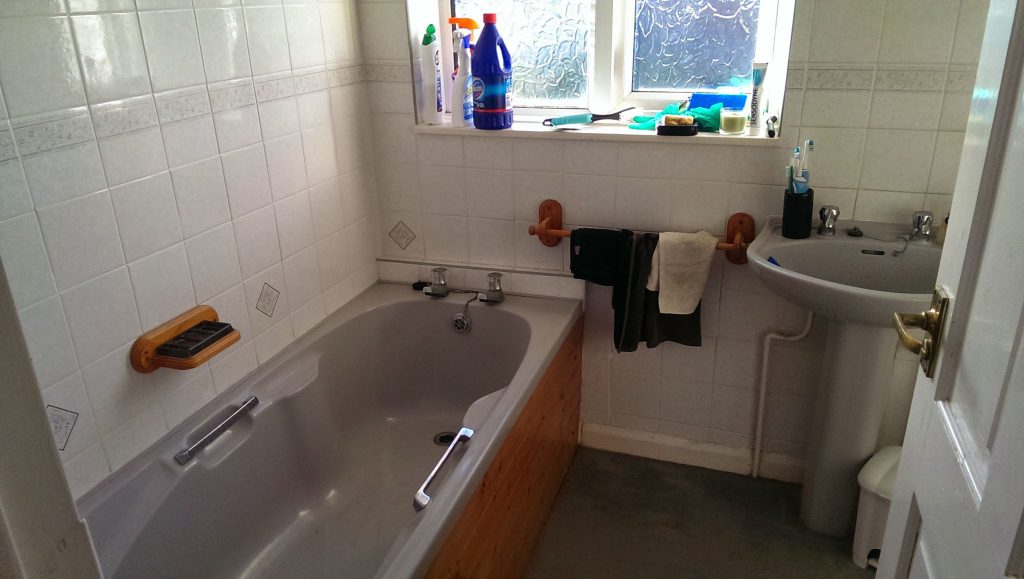
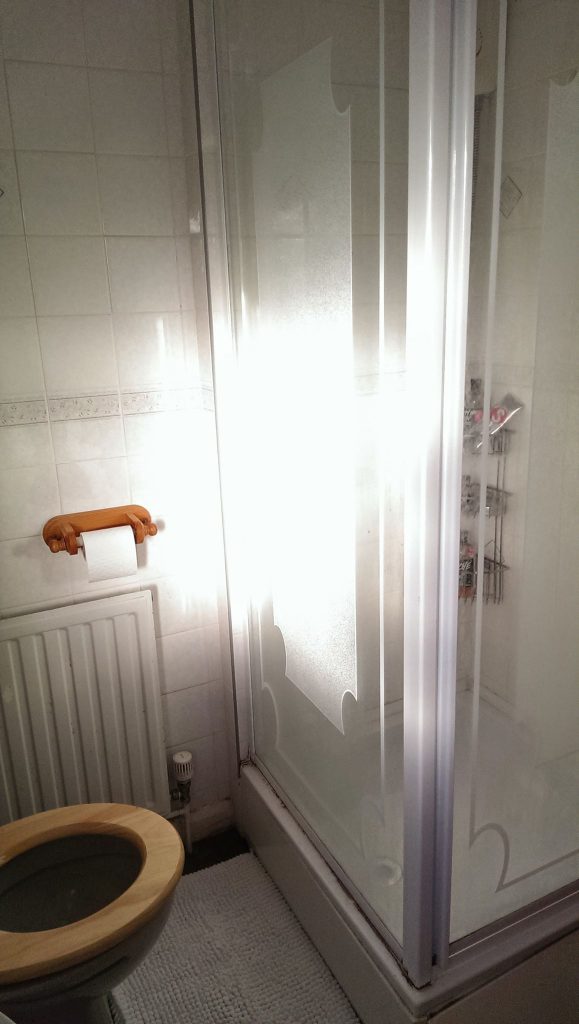
These are the only pictures that I have of the old bathroom. They aren’t very good because, if I recall this was the day of moving in and I was busy trying to get pictures of it all and wasn’t really focusing much on quality at the time. I don’t think I would have ever expected to be publishing pictures of my toilet online (we can only go up in the world, I suppose).
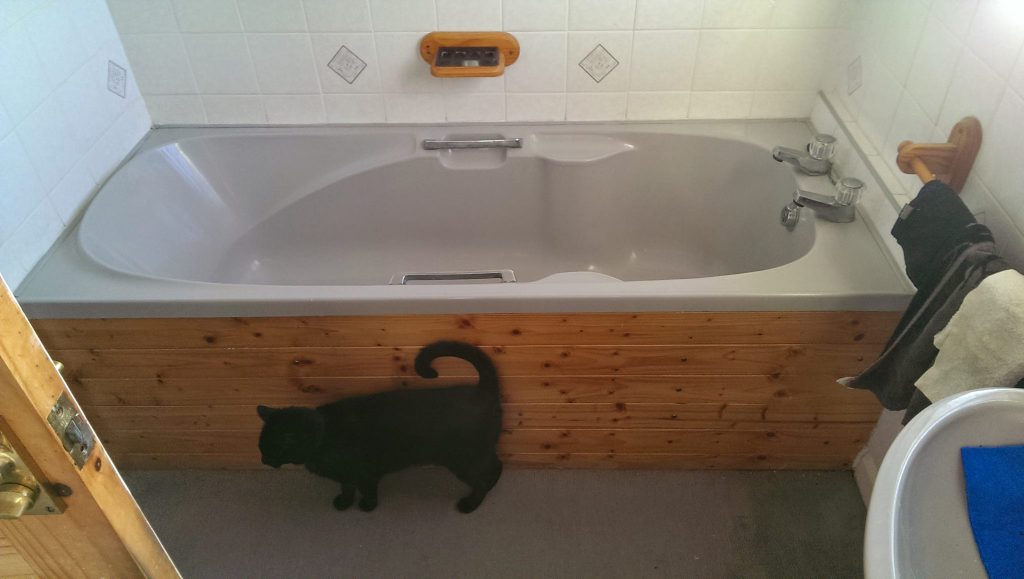
Since the bath is a bit skanky and a bit small, we don’t really use it (except to wash all of the dirty paint brushes, rollers and trays). So the shower gets quite a lot of use, and unfortunately it was never sealed very well so it always left little wet patches on the nasty grey carpet. And if the shower got used a lot we even had a few water marks on the kitchen ceiling that’s underneath. Paul did try and fill in all of the gaps himself, and it helped a bit, but it didn’t really fix it. And we couldn’t do anything about the broken sides around the shower tray, so the first job we got done was fixing the shower, which I can confirm was much better than our own attempt. And now we’re safe in the knowledge that the flooring gets to dry out.
The next thing we did was to buy a replacement sink and toilet. We didn’t bother with the bath because it was expensive, and we don’t use it enough. The sink was one of the cheapest we could find and was in a clearance sale (bargain) and was actually quite nice. The toilet was probably the third cheapest option, so not too bad, but not a horrible flimsy one either. In total the sink and the toilet alone set us back about £125. The tap is a Grohe and cost about £50 including postage, I splashed out but it was worth the extra money. It makes the water all soft and bubbly and (best of all) it’s a mixer tap which means we can control the temperature and not have to scald ourselves with the hot tap.
However, before the new sink and toilet were installed, I spray painted the radiator. We could have replaced it and the new radiator would have cost around £20 but it wasn’t essential as it still works. I scrubbed it a bit with some steel wool and sprayed it all over. The radiator was a mixture of magnolia and white before I painted it, dotted with a few rust spots and flaking paint. The spray paint was from Amazon for £6. (If you look close, you can still see a few bumps and scrapes, but in general, it makes the bathroom look a lot better).
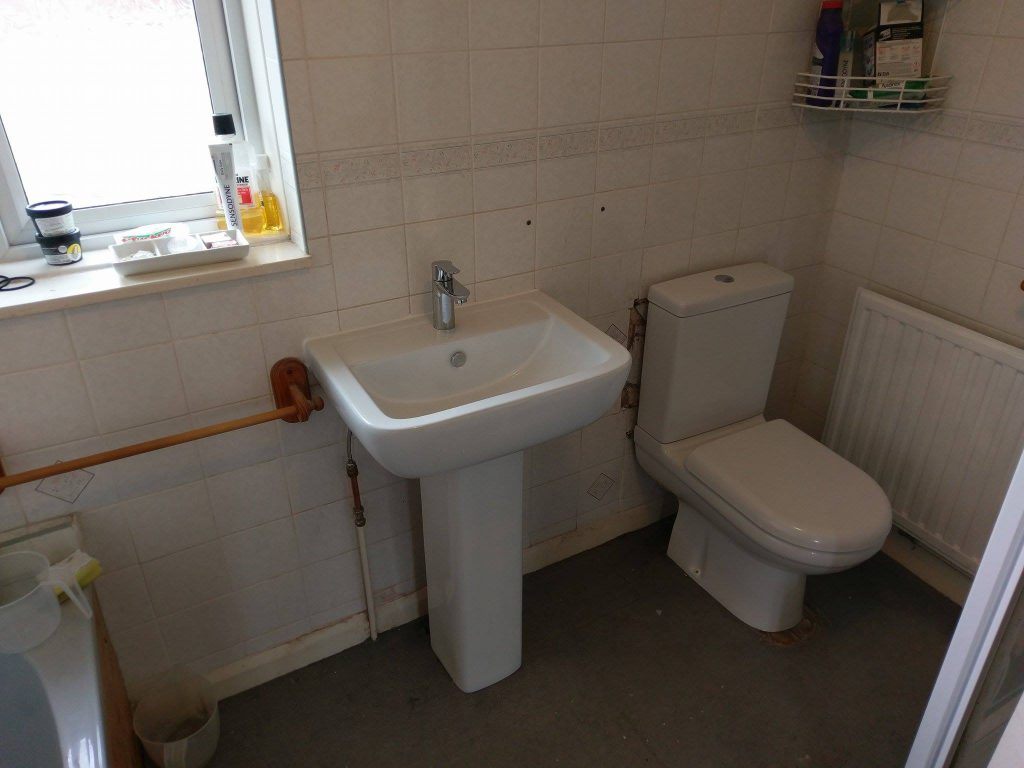
We paid someone to install these, as although we’d be able to do it ourselves, we’d much rather a professional do it in case something goes wrong. (And also who wants to mess around with a dirty soil pipe when you don’t really know what you’re doing?)
We ordered some vinyl from Flooring Superstore, who can send out free samples. The cost of the flooring was £40 but the shipping was £14.
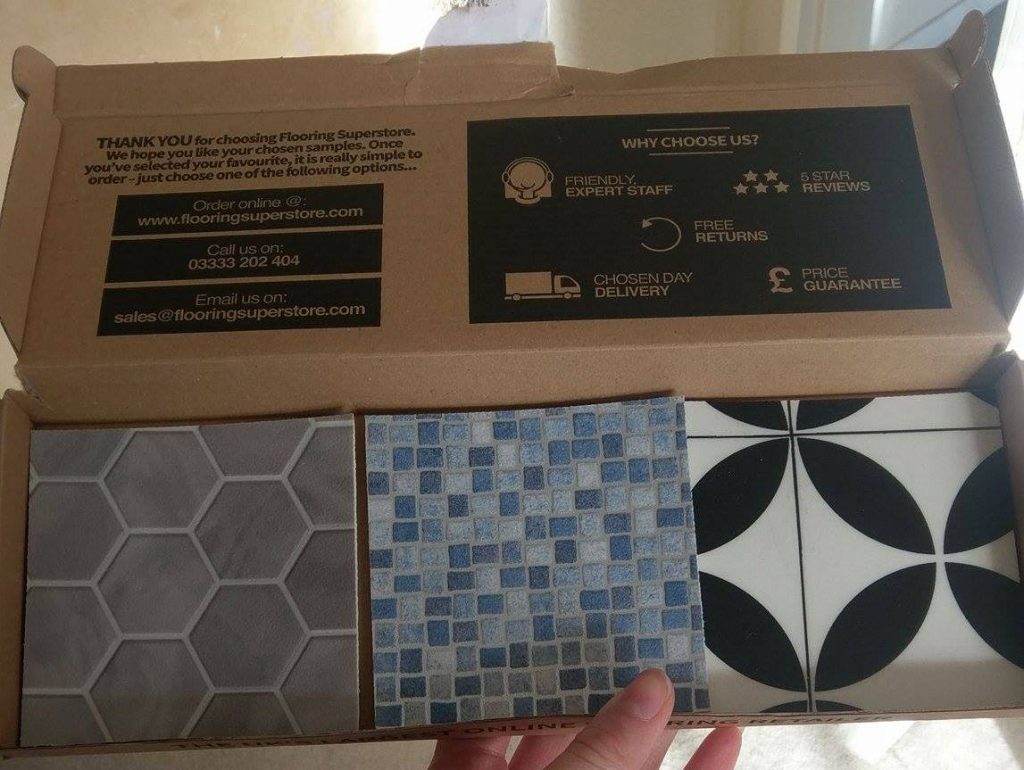
I didn’t choose any of these
Before the vinyl was fitted, we decided to take a look at the floor boards because we could see a few dips and gaps under the carpet. And were glad that we did; there was two that were completely loose with a very large gap between them. Paul has decided that the previous occupants that did the renovations had a ‘that’ll fuckin do’ attitude, because one of the floorboards was actually a ‘tongue-and-groove’ board, whereas the rest weren’t. So obviously it didn’t fit properly and left gaps in the floor.
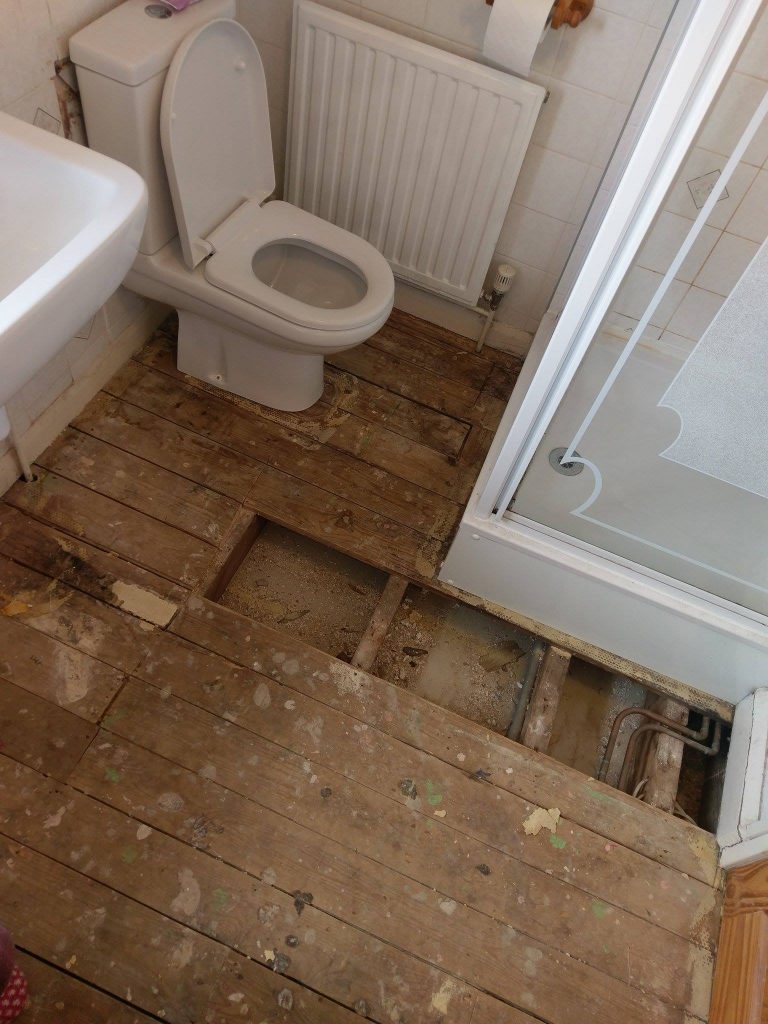
Paul took them out and we bought some wood from B&Q to replace them, and it was much better. Although a few of the boards were different thicknesses, so we had to plane them down and get rid of all of the spilt bits of plaster and, what appeared to be, old trodden in gum.
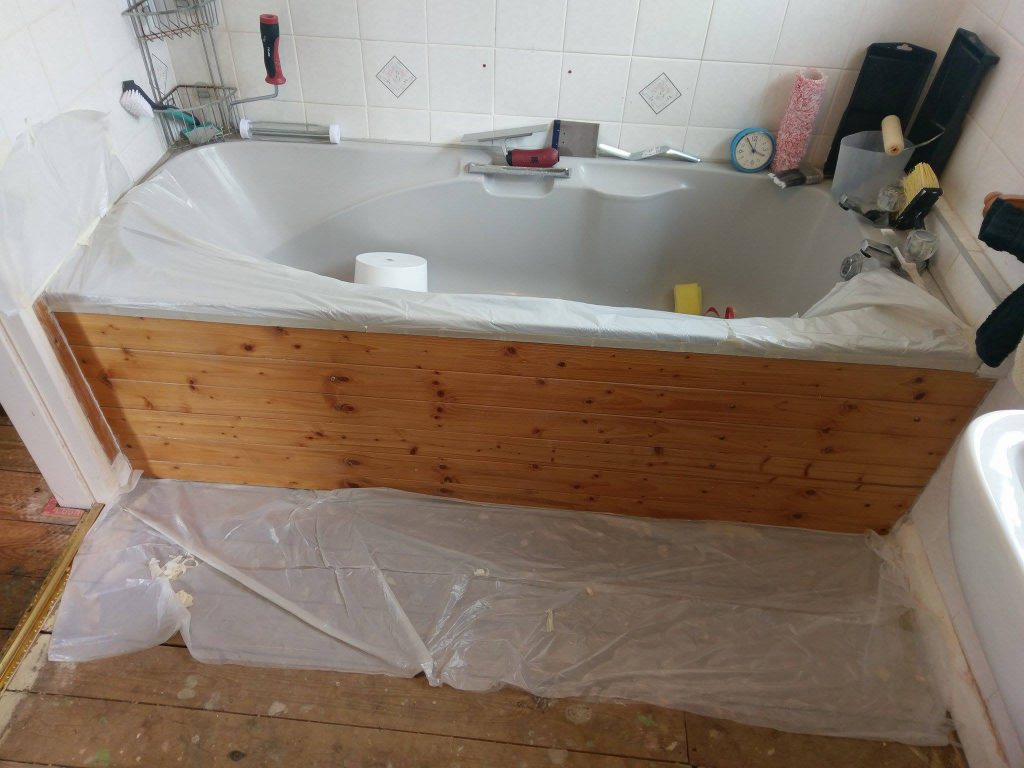
Bath before spraying
I decided at the last minute to spray the side of the bath white, in order for it match the rest of the room – as we didn’t replace it as we were trying to cut down on costs. I’m going to be honest here and fess up to doing a bit of a rubbish job. I didn’t bother to properly sand the side of the bath down, nor did I apply any primer. I just found some kitchen cabinet spray paint in B&Q and I wiped down the panelling after a very brief sanding and went for it. I used all of one can and by this point the colour was just starting to even out (downside to being lazy and not using primer) so I bought another. I paid £25 for the two cans. If I’d used primer I wouldn’t have needed a whole can of the paint but then I would’ve had to buy primer as well and it was probably around the same price, so no regrets.
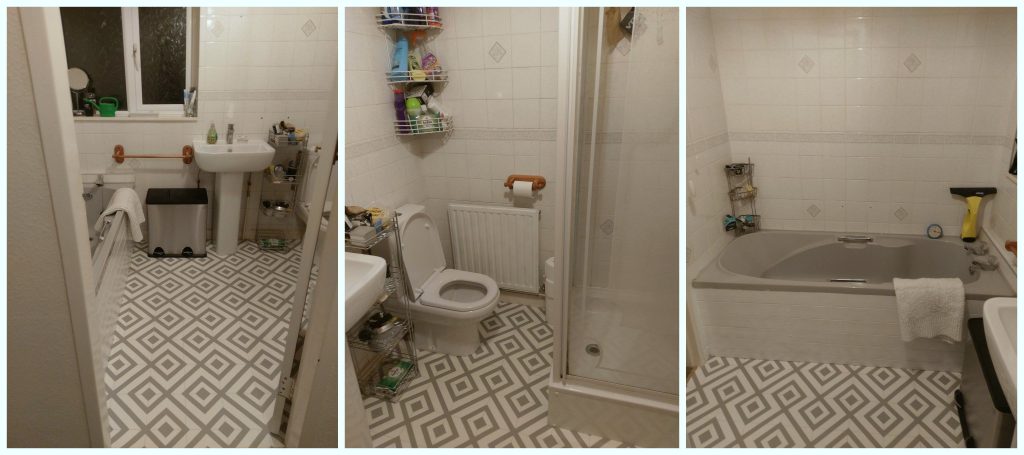
The bathroom is by no means perfect, we still have a crappy bath. There are still tiles that I hate, but the rest is fine. And the vinyl is actually warmer and softer than the carpet that was removed, which proves just how awful the carpets are in this house. It also feels cleaner, although the new painted bath and nice clean vinyl shows just how faded some of the skirting is, so we need to give that a bit of a spruce and finish the last few bits.


